Fixing Valve in Shower: Restoring Your Perfect Water Flow.
Steps to Fix a Valve in a Shower
A malfunctioning valve in a shower can be a frustrating problem to deal with. It can lead to inconsistent water temperature, low water pressure, or even a complete lack of water flow. Fortunately, fixing a valve in a shower is a task that can be accomplished with a few simple steps. In this article, we will guide you through the process of fixing a valve in a shower, ensuring that you can enjoy a fully functional and refreshing shower once again.
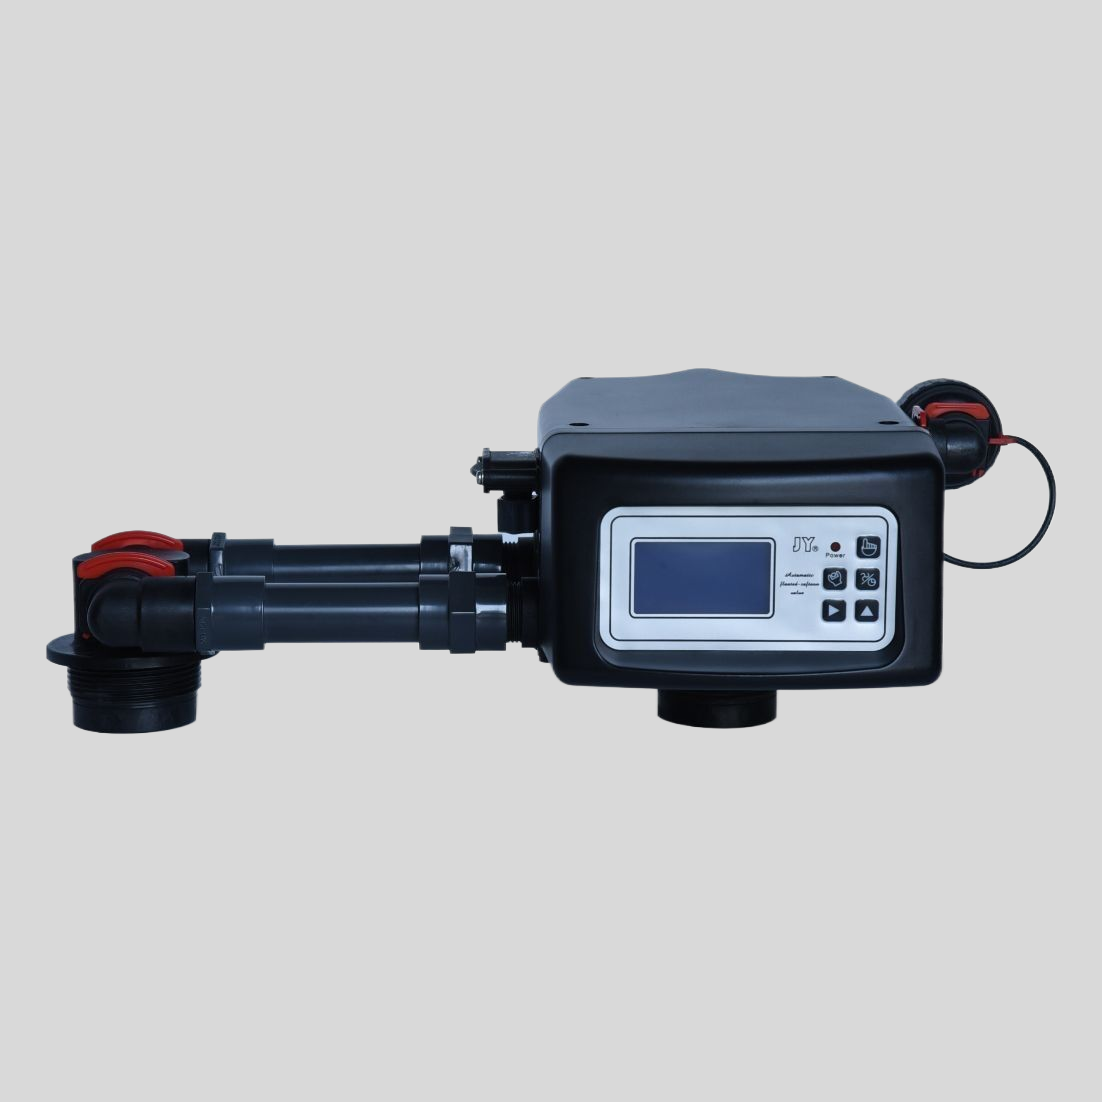
| Model | MSS2 | ASS2 -LCD/LED |
| Working Position | Service->Back Wash->Upflow Brine and slow rinse-> Fast rinse->Refill the softener water->Service . | |
| Regeneration mode | Manual | Automatic type |
| Meter Delay | ||
| Meter immediate | ||
| Intelligent Meter Delay | ||
| Intelligent Meter Immediate | ||
| Timer by day : 0-99 days | ||
| Timer by hours: 0-99 hours | ||
| Inlet | 3/4” | 3/4” 1” |
| Outlet | 3/4” | 3/4” 1” |
| Drain | 1/2” | 1/2” |
| Base | 2-1/2” | 2-1/2” |
| Riser pipe | 1.05” OD | 1.05” OD |
| Water Capacity | 2m3/h | 2m3/h |
| Working Pressure | 0.15-0.6Mpa | 0.15-0.6Mpa |
| Working Temperature | 5-50° C | |
| Power Supply | No Need Power | AC100-240 / 50-60Hz / DC12V-1.5A |
The first step in fixing a valve in a shower is to turn off the water supply. This is crucial to prevent any potential accidents or water damage. Locate the main water shut-off valve for your home and turn it off. If you are unsure about the location of the shut-off valve, consult your home’s plumbing diagram or contact a professional plumber for assistance.
Once the water supply is turned off, you can proceed to remove the handle of the shower valve. Most shower handles can be easily removed by unscrewing a screw or nut located at the base of the handle. Use a screwdriver or an adjustable wrench to loosen and remove the screw or nut. Gently pull the handle away from the wall to expose the valve assembly.
With the handle removed, you can now access the valve cartridge. The valve cartridge is the component responsible for controlling the flow and temperature of the water. In some cases, the cartridge may be faulty or worn out, causing the valve to malfunction. To remove the cartridge, locate the retaining clip or nut that holds it in place. Use pliers or a wrench to loosen and remove the clip or nut. Once removed, carefully pull the cartridge out of the valve body.
Inspect the cartridge for any signs of damage or wear. If you notice any cracks, leaks, or mineral buildup, it is likely that the cartridge needs to be replaced. Take note of the make and model of your shower valve and purchase a replacement cartridge from a hardware store or plumbing supply shop. Install the new cartridge by inserting it into the valve body and securing it with the retaining clip or nut.
After installing the new cartridge, reassemble the shower valve by attaching the handle back onto the valve assembly. Tighten the screw or nut to ensure a secure fit. Once the handle is in place, turn on the water supply to test the valve. Check for any leaks or irregularities in water flow and temperature. If everything appears to be in working order, congratulations! You have successfully fixed the valve in your shower.
In conclusion, fixing a valve in a shower is a relatively straightforward process that can be accomplished with a few simple steps. By turning off the water supply, removing the handle, replacing the faulty cartridge, and reassembling the valve, you can restore proper functionality to your shower. Remember to exercise caution and consult a professional plumber if you encounter any difficulties or are unsure about any aspect of the repair. With a little effort and know-how, you can enjoy a fully functional and refreshing shower once again.