Table of Contents
Steps to Successfully Add a Filter to Your Shower Head
Adding a filter to your shower head is an excellent way to ensure that the water you use for bathing is free from harmful contaminants. This process, while seemingly complex, can be accomplished with relative ease if you follow the right steps. This article will guide you through the process of successfully adding a filter to your shower head.
To begin with, it is important to understand why adding a filter to your shower head is beneficial. Shower water, like all tap water, can contain a variety of impurities, including chlorine, heavy metals, and bacteria. These contaminants can have adverse effects on your skin and hair, causing dryness, irritation, and other problems. A shower filter can effectively remove these impurities, improving the quality of your water and, by extension, your overall health and well-being.
The first step in adding a filter to your shower head is to purchase a suitable filter. There are many types of shower filters available on the market, each designed to remove specific types of contaminants. Some filters are designed to remove chlorine, while others are designed to remove heavy metals or bacteria. It is important to choose a filter that is designed to remove the specific contaminants that are present in your water. You can determine what contaminants are present in your water by having it tested by a professional water testing service.
Once you have purchased a suitable filter, the next step is to remove your existing shower head. This can usually be done by simply unscrewing it from the shower arm. If the shower head is tightly attached, you may need to use a wrench to loosen it. Be sure to place a cloth around the shower head before using the wrench to prevent scratching the finish.
After removing the shower head, you can attach the filter. Most shower filters are designed to screw directly onto the shower arm. Simply screw the filter onto the shower arm, making sure it is securely attached. Some filters may come with a rubber washer or gasket that should be placed between the filter and the shower arm to prevent leaks.
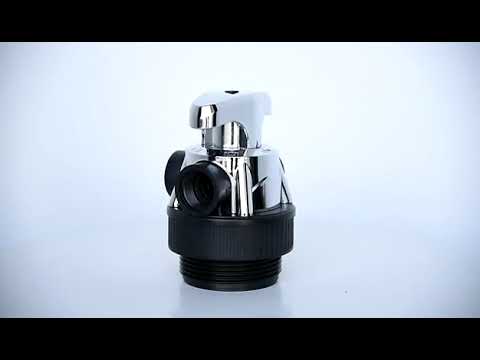
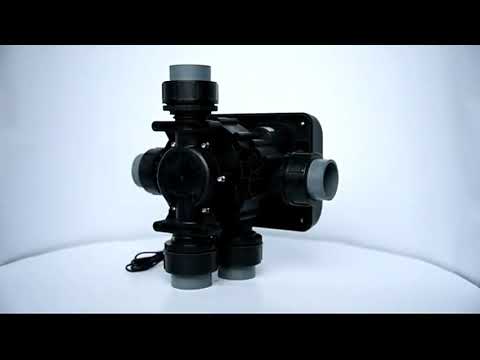
| Category | Type | Feature | Model | Inlet/Outlet | Drain | Base | Riser Pipe | Brine Line Connector | Water Capacity m3/h |
| Advanced Function automatic softener valve | Upflow Type | dry brine tank | ASE2 | 1/2″, 3/4″, 1″ | 1/2″ | 2.5″ | 1.05″ OD | 3/8″ | 2 |
| ASE4 | 3/4″, 1″ | 1/2″ | 2.5″ | 1.05″ OD | 3/8″ | 4 |
Once the filter is securely attached to the shower arm, you can reattach the shower head. Again, this can usually be done by simply screwing the shower head onto the filter. Be sure to tighten the shower head securely to prevent leaks.

After the shower head is reattached, you should run water through the shower for a few minutes to flush out any loose carbon or other filter media. This will ensure that your first shower with the new filter is free from any black or cloudy water that can sometimes occur when a new filter is first installed.
In conclusion, adding a filter to your shower head is a relatively simple process that can greatly improve the quality of your water. By following these steps, you can ensure that your shower water is free from harmful contaminants, improving your health and well-being. Remember, the key to successfully adding a filter to your shower head is to choose the right filter for your water, install it correctly, and maintain it properly.
The Benefits and Installation Process of Shower Head Filters
The addition of a filter to your shower head can bring about a multitude of benefits, enhancing not only the quality of your water but also your overall showering experience. Shower head filters are designed to remove impurities such as chlorine, heavy metals, and bacteria from your water, providing you with a cleaner, healthier shower. This article will delve into the benefits of shower head filters and guide you through the installation process.
The benefits of installing a shower head filter are manifold. Firstly, they significantly improve the quality of your water by removing harmful substances. Chlorine, for instance, is commonly used in water treatment to kill bacteria, but it can also have detrimental effects on your skin and hair. By eliminating chlorine, shower head filters can help to reduce dryness and irritation, leaving your skin and hair feeling softer and healthier.
Moreover, shower head filters can also remove heavy metals such as lead and copper from your water. These metals can accumulate in your body over time, potentially leading to a variety of health issues. By filtering out these harmful substances, shower head filters can help to protect your health.
In addition to these health benefits, shower head filters can also enhance your showering experience. They can improve the smell and taste of your water, making your shower more enjoyable. Furthermore, some shower head filters also come with additional features such as adjustable spray settings, providing you with a more luxurious showering experience.
Now that we have explored the benefits of shower head filters, let’s turn our attention to the installation process. Installing a shower head filter is a relatively straightforward task that can be accomplished with a few basic tools.
| Model: Manual Softener Valve | MSD2 | MSS2 | MSD4 | MSD4-B | MSD10 |
| Working Position | Filter-> Back Wash-> Fast Rinse ->Filter | ||||
| Regeneration mode | Manual | ||||
| Inlet | 3/4” | 3/4” | 1” | 1” | 2” |
| Outlet | 3/4” | 3/4” | 1” | 1” | 2” |
| Drain | 3/4” | 3/4” | 1” | 1” | 2” |
| Base | 2-1/2” | 2-1/2” | 2-1/2” | 2-1/2” | 4” |
| Riser pipe | 1.05” OD | 1.05” OD | 1.05” OD | 1.05” OD | 1.5”D-GB |
| Water Capacity | 2m3/h | 2m3/h | 4m3/h | 4m3/h | 10m3/h |
| Working Pressure | 0.15-0.6Mpa | ||||
| Working Temperature | 5-50° C | ||||
| Power Supply | No need Power | ||||
To begin with, you will need to remove your existing shower head. This can usually be done by unscrewing it from the shower arm. Once the shower head has been removed, you can then attach the filter. Most shower head filters come with instructions that guide you through this process. Generally, you will need to screw the filter onto the shower arm, and then attach the shower head to the filter.
It’s important to ensure that all connections are secure to prevent leaks. You may need to use Teflon tape to create a watertight seal. Once the filter and shower head are securely attached, you can then turn on the water to check for leaks. If there are no leaks, then the installation process is complete.
In conclusion, adding a filter to your shower head can bring about numerous benefits. Not only can it improve the quality of your water by removing harmful substances, but it can also enhance your showering experience. Furthermore, the installation process is relatively straightforward, making it a feasible option for most homeowners. By investing in a shower head filter, you can take a significant step towards improving your health and wellbeing.

