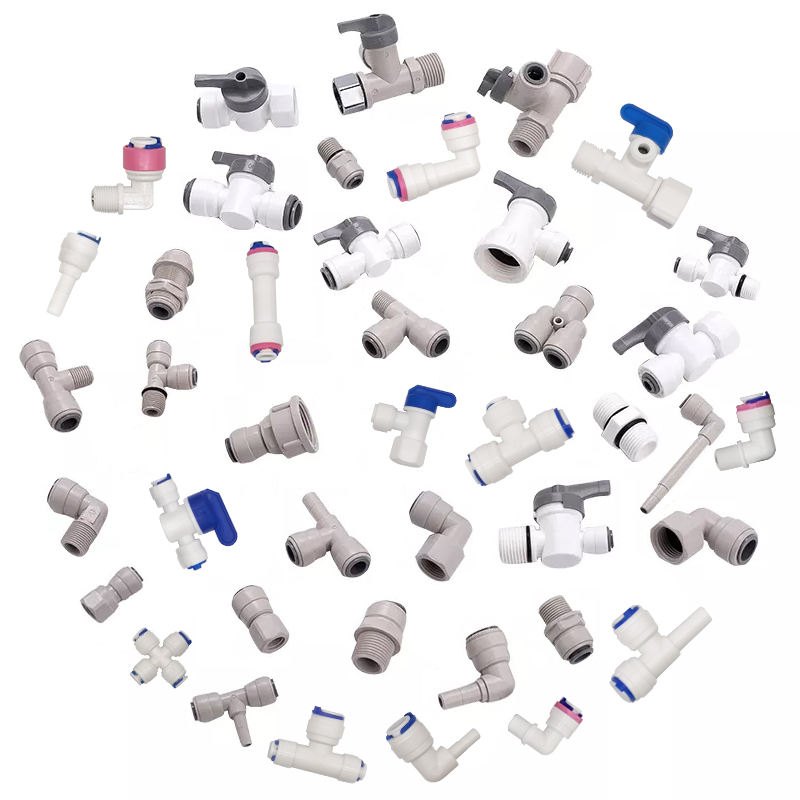
“يمكنك الاتصال بسهولة مع موصلات خرطوم JG Speedfit.”
كيفية تركيب موصل خرطوم JG Speedfit
لبدء عملية التثبيت، قم أولاً بقياس ووضع علامة على قسم الخرطوم الذي ستقوم بقطعه. استخدم قاطع الأنابيب أو المنشار لعمل قطع نظيف ومستقيم عبر الخرطوم. تأكد من قطع الخرطوم بزاوية 90 درجة لضمان الغلق المناسب للموصل.
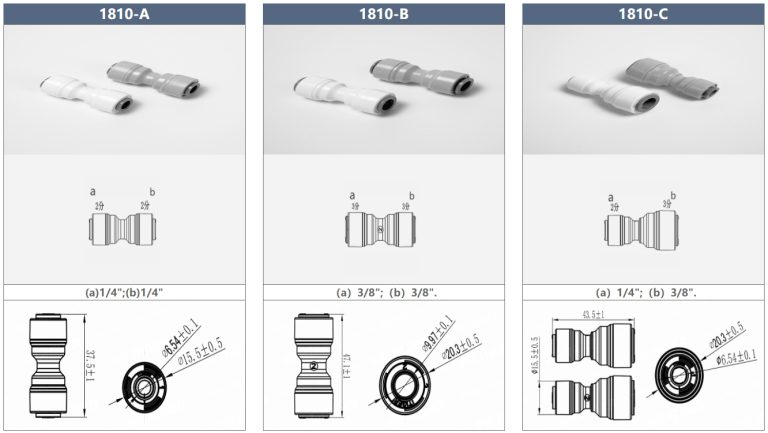
نموذج
| أنبوب (أ) | الجذعية (ب) | 1801-أ |
|---|---|---|
| 1801-ج | 1/4 | 1/4 |
| بعد ذلك، استخدم أداة إزالة الأزيز لإزالة أي نتوءات أو حواف خشنة من الطرف المقطوع للخرطوم. سيساعد ذلك على منع التسربات وضمان الاتصال الآمن بموصل خرطوم JG Speedfit. بمجرد أن تصبح نهاية الخرطوم ناعمة وخالية من العيوب، فأنت جاهز لمتابعة التثبيت.
أدخل الطرف المقطوع للخرطوم في موصل خرطوم JG Speedfit، وتأكد من تثبيته وآمنه بالكامل. قد تحتاج إلى وضع كمية صغيرة من مادة التشحيم على الخرطوم لمساعدته على الانزلاق داخل الموصل بسهولة أكبر. بمجرد تثبيت الخرطوم في مكانه، استخدم زوجًا من مفاتيح الربط القابلة للتعديل لإحكام ربط الموصل بالخرطوم. احرص على عدم الإفراط في ربط الموصل، حيث قد يؤدي ذلك إلى إتلاف الخرطوم والتسبب في حدوث تسربات. بمجرد تثبيت الموصل في مكانه بشكل آمن، قم بتشغيل مصدر المياه لاختبار الاتصال. تحقق من عدم وجود أي تسربات أو قطرات حول الموصل، وقم بإجراء أي تعديلات ضرورية لضمان إحكام الغلق. إذا واجهت تسربًا، فحاول ربط الموصل قليلاً أو إعادة تركيب الخرطوم لمعرفة ما إذا كان ذلك سيحل المشكلة. في الختام، يعد تثبيت موصل خرطوم JG Speedfit عملية مباشرة يمكن إكمالها باستخدام عدد قليل من الأدوات البسيطة والأدوات البسيطة القليل من المعرفة. باتباع الخطوات الموضحة في هذه المقالة، يمكنك التأكد من تثبيت موصل الخرطوم بشكل صحيح وآمن، مما يوفر لك اتصالاً موثوقًا بنظام السباكة أو التدفئة الخاص بك. مع التركيب والصيانة الصحيحة، سيوفر موصل خرطوم JG Speedfit الخاص بك سنوات من الخدمة الخالية من المتاعب، مما يجعله إضافة قيمة لمجموعة أدواتك. |
1/4 | 3/18 |
Next, use a deburring tool to remove any burrs or rough edges from the cut end of the hose. This will help prevent leaks and ensure a secure connection with the JG Speedfit hose connector. Once the end of the hose is smooth and free of imperfections, you are ready to proceed with the installation.
Insert the cut end of the hose into the JG Speedfit hose connector, making sure that it is fully seated and secure. You may need to apply a small amount of lubricant to the hose to help it slide into the connector more easily. Once the hose is in place, use a pair of adjustable wrenches to tighten the connector onto the hose. Be careful not to over-tighten the connector, as this can damage the hose and cause leaks.
Once the connector is securely in place, turn on the water supply to test the connection. Check for any leaks or drips around the connector, and make any necessary adjustments to ensure a tight seal. If you do encounter a leak, try tightening the connector slightly or reseating the hose to see if that resolves the issue.
In conclusion, installing a JG Speedfit hose connector is a straightforward process that can be completed with just a few simple tools and a little bit of know-how. By following the steps outlined in this article, you can ensure that your hose connector is installed correctly and securely, providing you with a reliable connection for your plumbing or heating system. With proper installation and maintenance, your JG Speedfit hose connector will provide years of trouble-free service, making it a valuable addition to your toolkit.