Table of Contents
Proper Installation Techniques for Clack Water Softener
Installing a water softener system in your home can greatly improve the quality of your water by removing minerals that cause hardness. One popular brand of water softeners is Clack, known for its high-quality products and efficient performance. Proper installation of a Clack water softener is crucial to ensure that it functions effectively and efficiently. In this article, we will provide a step-by-step guide on how to install a Clack water softener in your home.
Before you begin the installation process, it is important to gather all the necessary tools and materials. You will need a pipe cutter, pipe wrench, Teflon tape, tubing cutter, and a level. Additionally, make sure to read the installation manual provided by Clack thoroughly to familiarize yourself with the process.
The first step in installing a Clack water softener is to locate a suitable location for the unit. The ideal location is near the main water supply line and a drain for the discharge line. Make sure the area is well-ventilated and has enough space for the unit to operate efficiently.
Next, shut off the main water supply to your home and drain the pipes by opening a faucet at the lowest point in your house. This will prevent any water from flowing while you install the water softener.
Once the water supply is turned off, you can begin installing the bypass valve. The bypass valve allows you to bypass the water softener when necessary, such as during maintenance or repairs. Follow the instructions in the Clack water softener installation manual to properly connect the bypass valve to the main water supply line.
After installing the bypass valve, you can proceed to connect the water softener unit to the main water supply line. Make sure to use Teflon tape on all threaded connections to prevent leaks. Use a pipe wrench to tighten the connections securely.
Once the water softener unit is connected to the main water supply line, you can install the drain line. The drain line should be connected to a drain or sewer line using a hose clamp. Make sure the drain line is positioned correctly to allow for proper drainage of the wastewater from the water softener.
After connecting the drain line, you can proceed to connect the brine tank to the water softener unit. The brine tank is where the salt is stored to regenerate the resin beads in the water softener. Follow the instructions in the installation manual to properly connect the brine tank to the unit.
Finally, plug in the water softener unit and set the regeneration cycle according to the manufacturer’s instructions. It is important to program the unit correctly to ensure that it operates efficiently and effectively.
In conclusion, proper installation of a Clack water softener is essential to ensure that it functions efficiently and effectively. By following the step-by-step guide provided in the installation manual, you can install your water softener with ease and enjoy the benefits of soft, clean water in your home.
Troubleshooting Common Issues with Clack Water Softener Installation
Installing a Clack water softener can be a great investment for your home, as it helps to remove minerals such as calcium and magnesium from your water supply. However, like any appliance, you may encounter some common issues during the installation process. In this article, we will discuss some troubleshooting tips for common problems that may arise when installing a Clack water softener.
One common issue that homeowners may encounter during the installation of a Clack water softener is leaks. Leaks can occur for a variety of reasons, such as loose fittings or damaged O-rings. If you notice a leak, the first step is to check all of the connections to ensure they are tight and secure. If the leak persists, you may need to replace any damaged O-rings or fittings.
Another common issue that may arise during installation is a lack of water flow. This can be caused by a clogged filter or a blockage in the water line. To troubleshoot this issue, first check the filter to see if it needs to be cleaned or replaced. If the filter is not the problem, check the water line for any obstructions that may be restricting the flow of water.
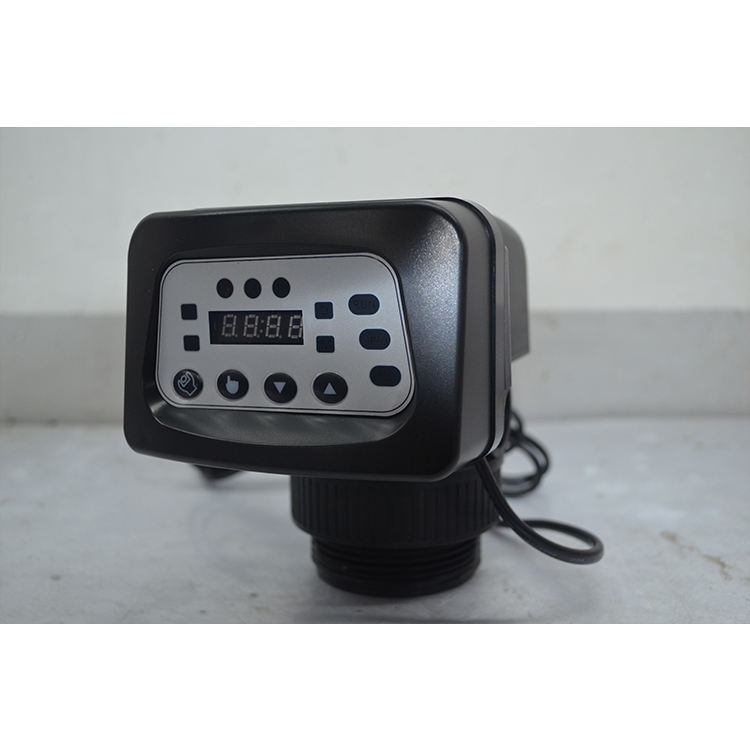
| Model | Category | Water Capacity m3/h | LCD | LED | ICON | DIODE |
| ASDU2 | automatic softener valve | 2 | O | O | O | O |
| ASDU2-H | automatic softener valve | 2 | O | O | X | X |
| ASDU4 | automatic softener valve | 4 | O | O | O | O |
| ASDU4-L | automatic softener valve | 4 | O | O | O | O |
In some cases, homeowners may experience issues with the regeneration cycle of their Clack water softener. If you notice that your water softener is not regenerating properly, there are a few steps you can take to troubleshoot the issue. First, check the timer settings to ensure they are programmed correctly. If the timer settings are correct, you may need to check the brine tank to see if it needs to be refilled with salt.
If you are experiencing issues with the water softness level in your home, it may be due to a problem with the resin tank. The resin tank is responsible for removing minerals from the water, so if it is not functioning properly, you may notice a decrease in water softness. To troubleshoot this issue, check the resin tank for any signs of damage or wear. If you notice any issues, you may need to replace the resin tank to restore the water softness level in your home.
In some cases, homeowners may encounter electrical issues during the installation of their Clack water softener. If you notice that your water softener is not turning on or is not functioning properly, the first step is to check the power source. Ensure that the water softener is plugged in and that the power source is working correctly. If the power source is not the issue, you may need to check the electrical connections to ensure they are secure.

Overall, installing a Clack water softener can be a straightforward process, but like any appliance, you may encounter some common issues along the way. By following these troubleshooting tips, you can address common problems that may arise during the installation process and ensure that your water softener is functioning properly. If you continue to experience issues, it may be helpful to consult the Clack water softener installation manual for further guidance.