Table of Contents
Understanding Turbidity Measurement and its Importance in Water Quality Monitoring
Turbidity is a key parameter in water quality monitoring, as it provides valuable information about the clarity of water and the presence of suspended particles. Turbidity is defined as the cloudiness or haziness of a fluid caused by individual particles that are generally invisible to the naked eye. These particles can include sediment, algae, bacteria, and other contaminants that can affect the quality of water.
Measuring turbidity is important for several reasons. Firstly, turbidity can indicate the presence of harmful pollutants in water, such as heavy metals, pesticides, and pathogens. High levels of turbidity can also impact aquatic ecosystems by reducing light penetration and inhibiting photosynthesis in aquatic plants. Additionally, turbidity can affect the taste, odor, and appearance of drinking water, making it unappealing to consumers.
To measure turbidity accurately, a turbidity sensor is required. Turbidity sensors work by measuring the amount of light scattered or absorbed by particles in water. The sensor then converts this information into a turbidity value, which is typically expressed in nephelometric turbidity units (NTU). There are several types of turbidity sensors available, including optical sensors, which use light to measure turbidity, and acoustic sensors, which use sound waves.
For those interested in monitoring turbidity in water, the Arduino platform offers a convenient and cost-effective solution. Arduino is an open-source electronics platform that allows users to create custom electronic devices and sensors. By using an Arduino board and a turbidity sensor, users can build their own turbidity monitoring system for water quality assessment.
One of the key advantages of using Arduino for turbidity measurement is the availability of a wide range of sensor libraries. These libraries contain pre-written code that simplifies the process of interfacing with turbidity sensors and reading turbidity values. By using a turbidity sensor library for Arduino, users can quickly and easily set up their turbidity monitoring system without the need for extensive programming knowledge.
Arduino turbidity sensor libraries typically include functions for calibrating the sensor, reading turbidity values, and displaying the results on a screen or transmitting them wirelessly to a computer or smartphone. Some libraries also include advanced features, such as data logging, real-time monitoring, and alarm notifications for high turbidity levels.
When selecting a turbidity sensor library for Arduino, it is important to choose one that is compatible with the specific turbidity sensor being used. Different sensors may require different calibration procedures or communication protocols, so it is essential to ensure that the library supports the sensor model being used.
In conclusion, turbidity measurement is an essential aspect of water quality monitoring, providing valuable information about the clarity and purity of water. By using an Arduino platform and a turbidity sensor library, users can easily set up their own turbidity monitoring system for accurate and reliable water quality assessment. With the availability of a wide range of sensor libraries, Arduino offers a flexible and customizable solution for turbidity measurement in various applications.
Step-by-Step Guide to Building a DIY turbidity sensor Using Arduino and Library Integration
Turbidity sensors are essential tools used in various industries to measure the clarity of liquids by detecting the amount of suspended particles present. These sensors are commonly used in water treatment plants, aquariums, and environmental monitoring systems to ensure water quality and safety. Building a DIY turbidity sensor using an Arduino microcontroller can be a cost-effective and educational project for electronics enthusiasts and students alike.
To create a turbidity sensor using an Arduino, you will need a few key components, including an Arduino board, a turbidity sensor module, and jumper wires for connecting the components. The turbidity sensor module typically consists of an infrared LED and a phototransistor that work together to measure the amount of light scattered by particles in the liquid.
Once you have gathered all the necessary components, the next step is to connect the turbidity sensor module to the Arduino board using jumper wires. The sensor module usually has three pins: VCC (power), GND (ground), and OUT (analog output). Connect the VCC pin to the 5V pin on the Arduino, the GND pin to the GND pin, and the OUT pin to one of the analog input pins (e.g., A0).
After connecting the sensor module to the Arduino, you can begin writing the code to read and interpret the sensor data. Fortunately, there are libraries available for Arduino that simplify the process of interfacing with turbidity sensors. One popular library is the “DFRobot_Turbidity” library, which provides functions for calibrating the sensor and reading the turbidity value.
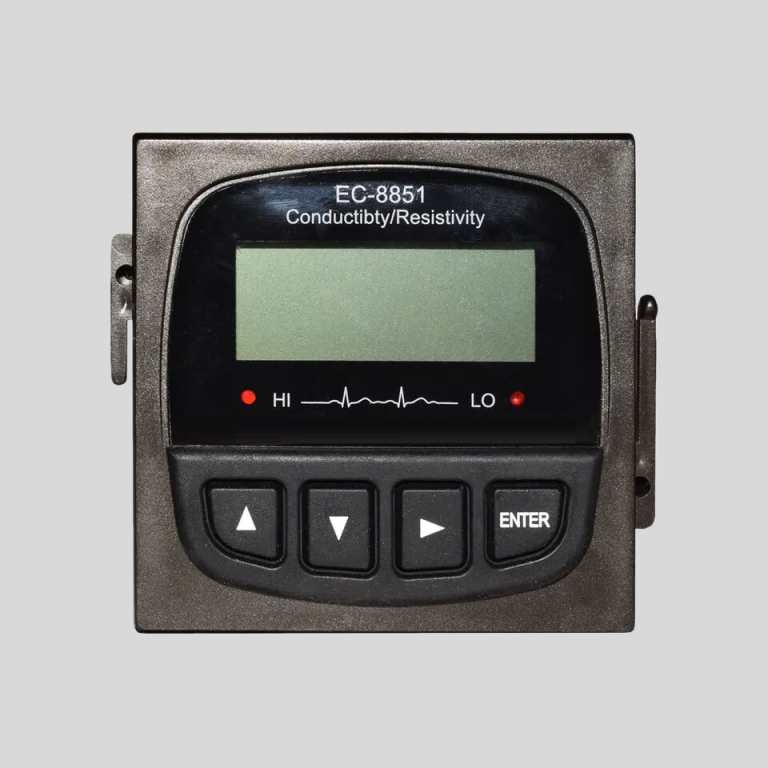
| Model No. | CCT-8301A Conductivity Resistivity Online Controller Spec | |||
| Conductivity | Resistivity | TDS | Temp. | |
| Measurement range | 0.1μS/cm~40.0mS/cm | 50KΩ·cm~18.25MΩ·cm | 0.25ppm~20ppt | (0~100)℃ |
| Resolution | 0.01μS/cm | 0.01MΩ·cm | 0.01ppm | 0.1℃ |
| Accuracy | 1.5level | 2.0level | 1.5level | ±0.5℃ |
| Temp.Compensation | Pt1000 | |||
| Working Environment | Temp. (0~50)℃; relative humidity ≤85%RH | |||
| Analog Output | Double channel (4~20)mA,Instrument/Transmitter for selection | |||
| Control Output | Triple channels photo-electronic semiconductor relay ,Load capacity: AC/DC 30V,50mA(max) | |||
| Power Supply | DC 24V±15% | |||
| Consumption | ≤4W | |||
| Protection Level | IP65(with the back cover) | |||
| Installation | Panel mounted | |||
| Dimension | 96mm×96mm×94mm (H×W×D) | |||
| Hole Size | 91mm×91mm(H×W) | |||
To use the DFRobot_Turbidity library, you first need to download and install it in the Arduino IDE. Once the library is installed, you can include it in your sketch by adding the following line at the beginning of your code:
| Instrument model | FET-8920 | |
| Measurement range | Instantaneous flow | (0~2000)m3/h |
| Accumulative flow | (0~99999999)m3 | |
| Flow rate | (0.5~5)m/s | |
| Resolution | 0.001m3/h | |
| Accuracy level | Less than 2.5% RS or 0.025m/s.whichever is the largest | |
| Conductivity | >20μS/cm | |
| (4~20)mA output | Number of channels | Single channel |
| Technical features | Isolated,reversible,adjustable, meter/transmission dual mode | |
| Loop resistance | 400Ω(Max), DC 24V | |
| Transmission accuracy | ±0.1mA | |
| Control output | Number of channels | Single channel |
| Electrical contact | Semiconductor photoelectric relay | |
| Load capacity | 50mA(Max), DC 30V | |
| Control mode | Instantaneous amount upper/lower limit alarm | |
| Digital output | RS485(MODBUS protocol ),Impulse output1KHz | |
| Working power | Power supply | DC 9~28V |
| source | Power Consumption | ≤3.0W |
| Diameter | DN40~DN300(can be customized) | |
| Working environment | Temperature:(0~50) ℃; Relative humidity: ≤85%RH(none condensation) | |
| Storage environment | Temperature:(-20~60) ℃; Relative humidity: ≤85%RH(none condensation) | |
| Protection grade | IP65 | |
| Installation method | Insertion pipeline installation | |
#include
Next, you can initialize the turbidity sensor object in your setup function and calibrate the sensor using the calibrate function provided by the library. The calibration process involves placing the sensor in a clear liquid (e.g., distilled water) and recording the analog output value as the baseline reading.
With the sensor calibrated, you can now read the turbidity value from the sensor using the readTurbidity function. This function returns a turbidity value in NTU (Nephelometric Turbidity Units), which is a standard unit of measurement for turbidity.
You can then use this turbidity value to monitor the clarity of the liquid in real-time and trigger alerts or actions based on predefined thresholds. For example, you could set up a notification system to alert you when the turbidity level exceeds a certain value, indicating a potential issue with water quality.
In conclusion, building a DIY turbidity sensor using an Arduino and integrating a turbidity sensor library can be a rewarding project that enhances your understanding of sensor technology and data interpretation. By following this step-by-step guide and leveraging the resources available in the Arduino community, you can create a functional turbidity sensor for various applications.

