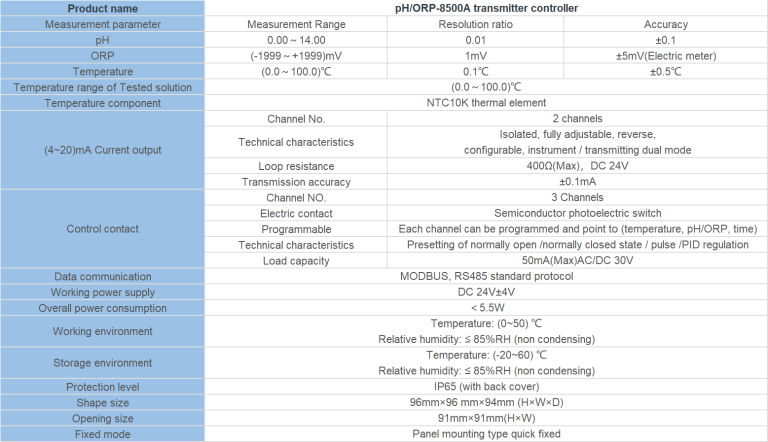
1. Calibrate your ph meter before use
2. Immerse the electrode in the solution
3. Wait for the reading to stabilize
4. Record the pH value
5. Rinse the electrode with distilled water after use.
Table of Contents
Proper Calibration of a ph meter
A ph meter is a crucial tool in various industries, including agriculture, food and beverage production, and scientific research. To ensure accurate and reliable results, it is essential to properly calibrate the ph meter before each use. Calibration involves adjusting the ph meter to accurately measure the pH of a solution. In this article, we will discuss the step-by-step process of calibrating a ph meter to ensure accurate readings.
The first step in calibrating a ph meter is to gather all the necessary equipment. You will need a ph meter, calibration solutions (pH 4.01 and pH 7.00), distilled water, a clean container, and a clean stirring rod. It is important to use fresh calibration solutions and distilled water to prevent contamination and ensure accurate calibration.
Next, rinse the ph meter electrode with distilled water to remove any residue or contaminants. Place the electrode in the pH 7.00 calibration solution and allow it to stabilize for a few minutes. The ph meter should display a reading close to 7.00. If the reading is significantly different, adjust the ph meter using the calibration controls until it reads 7.00.
After calibrating the ph meter with the pH 7.00 solution, rinse the electrode with distilled water and place it in the pH 4.01 calibration solution. Allow the electrode to stabilize for a few minutes, and the ph meter should display a reading close to 4.01. Again, if the reading is off, adjust the ph meter using the calibration controls until it reads 4.01.
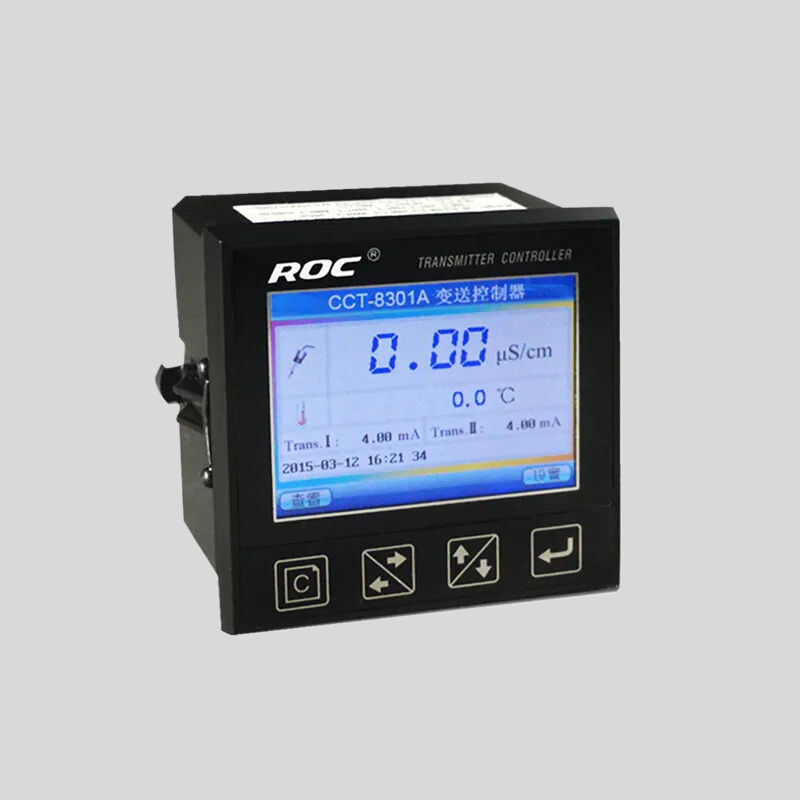
Once you have calibrated the ph meter with both the pH 7.00 and pH 4.01 solutions, rinse the electrode with distilled water to remove any residue. You can now use the ph meter to measure the pH of your sample accurately. Remember to rinse the electrode with distilled water between each measurement to prevent contamination and ensure accurate results.
In conclusion, calibrating a ph meter is a crucial step in ensuring accurate and reliable pH measurements. By following the step-by-step process outlined in this article and using fresh calibration solutions and distilled water, you can calibrate your ph meter effectively. Regular calibration and proper storage of calibration solutions are essential to maintain the accuracy of your ph meter. By taking these steps, you can ensure that your ph meter provides accurate readings for your samples and helps you achieve reliable results in your work.
Step-by-Step Guide to Measuring pH Levels
A ph meter is a valuable tool used to measure the acidity or alkalinity of a solution. It is commonly used in laboratories, agriculture, and water treatment facilities to ensure the proper pH levels are maintained. If you are new to using a ph meter, it may seem intimidating at first, but with a step-by-step guide, you can easily learn how to use it effectively.
The first step in using a ph meter is to calibrate it. Calibration is essential to ensure accurate readings. Most pH meters come with calibration solutions that are used to set the meter to a known pH value. To calibrate the ph meter, simply immerse the electrode in the calibration solution and adjust the meter until it reads the correct pH value. It is recommended to calibrate the ph meter before each use to ensure accurate results.
| Controller type | ROC-7000 Single-stage/Double-stage Reverse osmosis control integrated system | |||||
| Cell constant | 0.1cm-1 | 1.0 cm-1 | 10.0cm-1 | |||
| Conductivity measurement parameters | Raw water conductivity | (0~2000) | (0~20000) | |||
| Primary conductivity | (0~200) | (0~2000) | ||||
| Secondary conductivity | (0~200) | (0~2000) | ||||
| Temperature compensation | Automatic compensation on the basis of 25 ℃ ,compensation range(0~50)℃ | |||||
| Accuracy | Matched precision:1.5 level | |||||
| Flow measurement range | Instantaneous flow | (0~999)m3/h | ||||
| Accumulative flow | (0~9999999)m3 | |||||
| pH | Measurement range | 2-12 | ||||
| measurement parameters | Accuracy | ±0.1pH | ||||
| Temperature compensation | Automatic compensation on the basis of 25 ℃ ,compensation range(0~50)℃ | |||||
| DI acquisition | Input signal | Low pressure switch of Tap water,high level of pure water tank, low level of pure water tank, low pressure switch before the pump, high pressure switch after the primary booster pump,high level of secondary pure water tank, low level of secondary pure water tank,high pressure switch after the secondary booster pump | ||||
| Signal Type | Passive switch contact | |||||
| DO Control | Control output | Inlet valve, primary flush valve, primary drain valve, antiscalant pump, raw water pump, primary booster pump, secondary booster pump, secondary flush valve, secondary drain valve, pH adjustment metering pump. | ||||
| Electrical contact | Relay(ON/OFF) | |||||
| Load capacity | 3A(AC 250V)~ 3A(DC 30V) | |||||
| Display screen | Screen color:TFT;resolution:800×480 | |||||
| Working power | Working power | DC 24V±4V | ||||
| Power consumption | ≤6.0W | |||||
| Working environment | Temperature:(0~50)℃;Relative humidity:≤85%RH(non condensation) | |||||
| Storage environment | Temperature:(-20~60)℃;Relative humidity:≤85%RH(non condensation) | |||||
| Installation | Panel mounted | Hole(Length×Width,192mm×137mm) | ||||
Once the ph meter is calibrated, you can begin measuring the pH of your solution. Start by rinsing the electrode with distilled water to remove any residue from the calibration process. Then, immerse the electrode into the solution you wish to measure. Make sure the electrode is fully submerged and not touching the sides of the container, as this can affect the accuracy of the reading.
Allow the ph meter to stabilize in the solution for a few moments. The meter will display a reading of the pH level of the solution. Take note of the reading and record it for future reference. If you are testing multiple solutions, be sure to rinse the electrode with distilled water between each measurement to prevent cross-contamination.
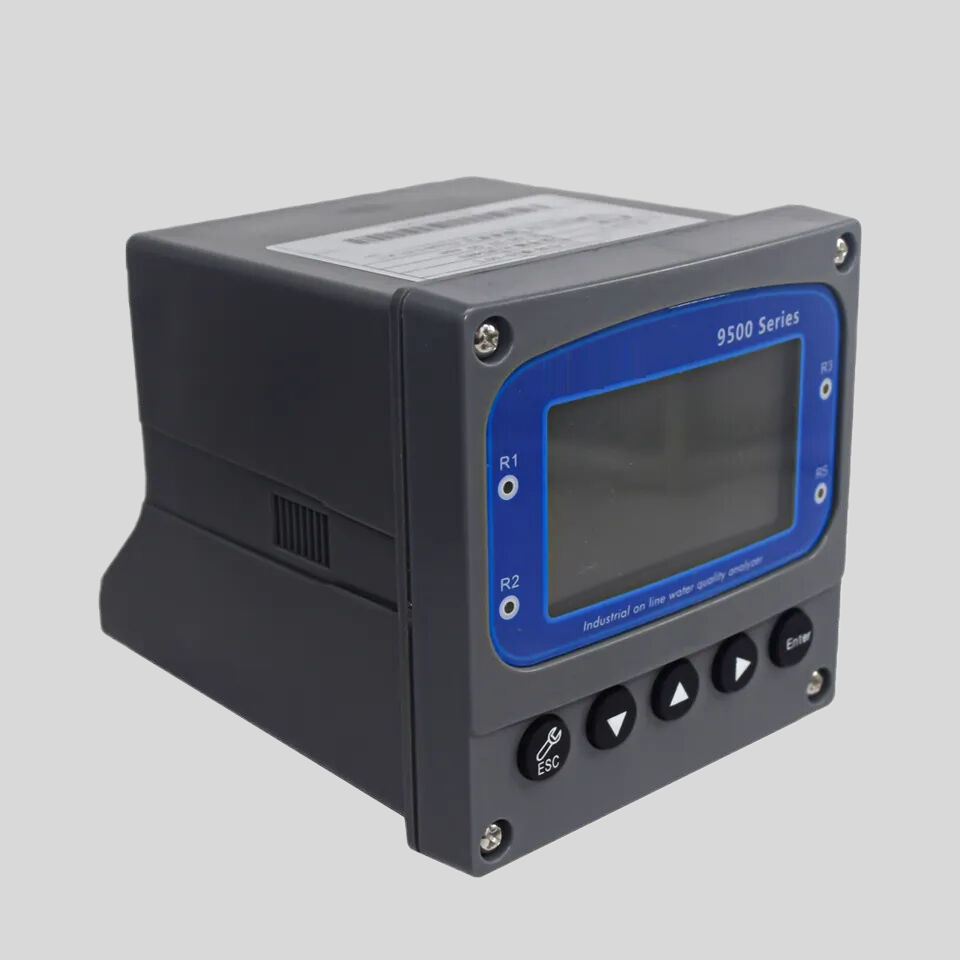
After you have finished measuring the pH of your solution, it is important to properly clean and store the ph meter. Rinse the electrode with distilled water to remove any residue from the solution. Then, gently wipe the electrode with a soft cloth to dry it. Store the ph meter in a clean, dry place to prevent damage and ensure its longevity.
| Measuring Method | N,N-Diethyl-1,4-phenylenediamine (DPD) spectrophotometry | |||
| Model | CLA-7122 | CLA-7222 | CLA-7123 | CLA-7223 |
| Inlet water channel | Single channel | Dual channel | Single channel | Dual channel |
| Measurement range | Total Chlorine : (0.0 ~ 2.0)mg/L ,calculated as Cl2 ; | Total Chlorine : (0.5 ~10.0)mg/L ,calculated as Cl2 ; | ||
| pH:(0-14);temperature:(0-100)℃ | ||||
| Accuracy | Free chlorine: ±10% or 0.05mg/L (whichever is greater), calculated as Cl2; Total chlorine: ±10% or 0.05mg/L (whichever is greater), calculated as Cl2 | Free chlorine: ±10% or 0.25mg/L (whichever is greater), calculated as Cl2; Total chlorine: ±10% or 0.25mg/L (whichever is greater), calculated as Cl2 | ||
| pH:±0.1pH;Temp.:±0.5℃ | ||||
| Measurement cycle | Free Chlorine≤2.5min | |||
| Sampling interval | The interval (1~999) min can be set to any value | |||
| Maintenance cycle | Recommended once a month (see maintenance chapter) | |||
| Environmental | Ventilated and dry room without strong vibration; Suggested room temperature: (15 ~ 28)℃; relative humidity: ≤85% (no condensation). | |||
| requirements | ||||
| Sample water flow | (200-400) mL/min | |||
| inlet water pressure | (0.1-0.3) bar | |||
| Inlet water temperature range | (0-40)℃ | |||
| Power supply | AC (100-240)V; 50/60Hz | |||
| Consumption | 120W | |||
| Power connection | 3-core power cord with plug is connected to the mains socket with ground wire | |||
| Data output | RS232/RS485/(4~20)mA | |||
| Dimension size | H*W*D:(800*400*200)mm | |||
In conclusion, using a ph meter is a straightforward process that can be easily mastered with practice. By following these step-by-step instructions, you can confidently measure the pH levels of your solutions accurately and efficiently. Remember to calibrate the ph meter before each use, immerse the electrode properly, allow the meter to stabilize, record the reading, and clean and store the ph meter properly. With these guidelines in mind, you can effectively use a ph meter in your laboratory, agricultural, or water treatment applications.

