Table of Contents
Importance of Proper Valve Preparation for Water Softeners
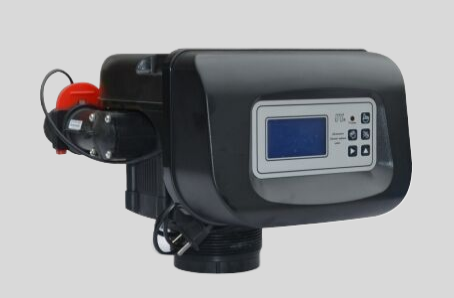
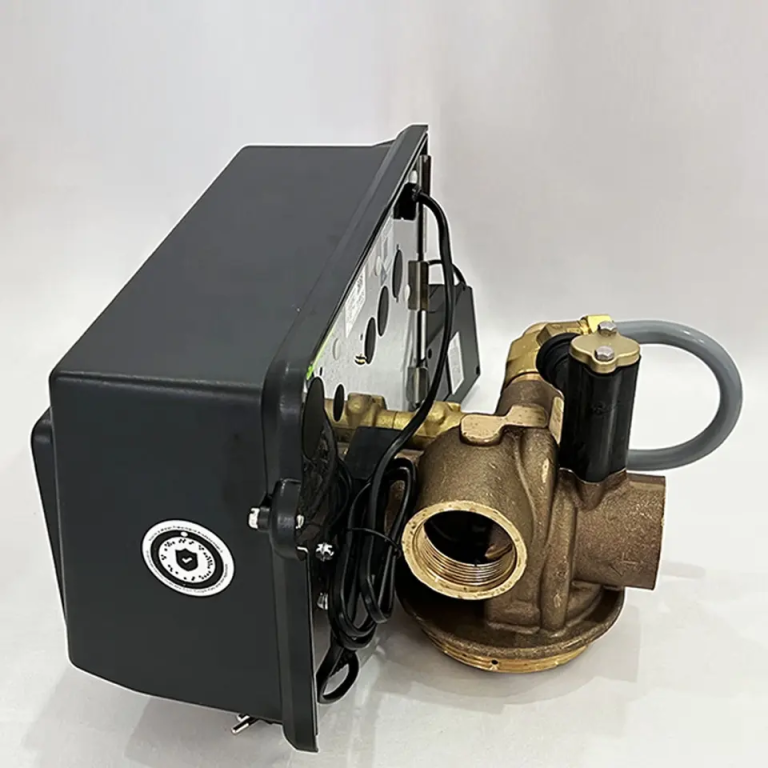
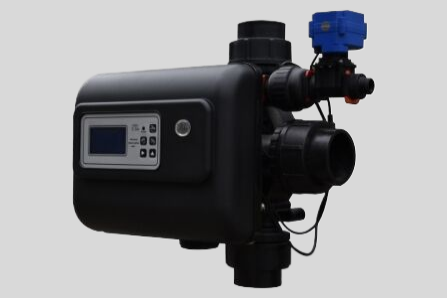
Proper valve preparation is a crucial step in ensuring the optimal performance and longevity of water softeners. Water softeners are essential devices that help remove minerals like calcium and magnesium from hard water, preventing scale buildup in pipes and appliances. These devices rely on a series of valves to control the flow of water through the system, making valve preparation a critical aspect of water softener maintenance.
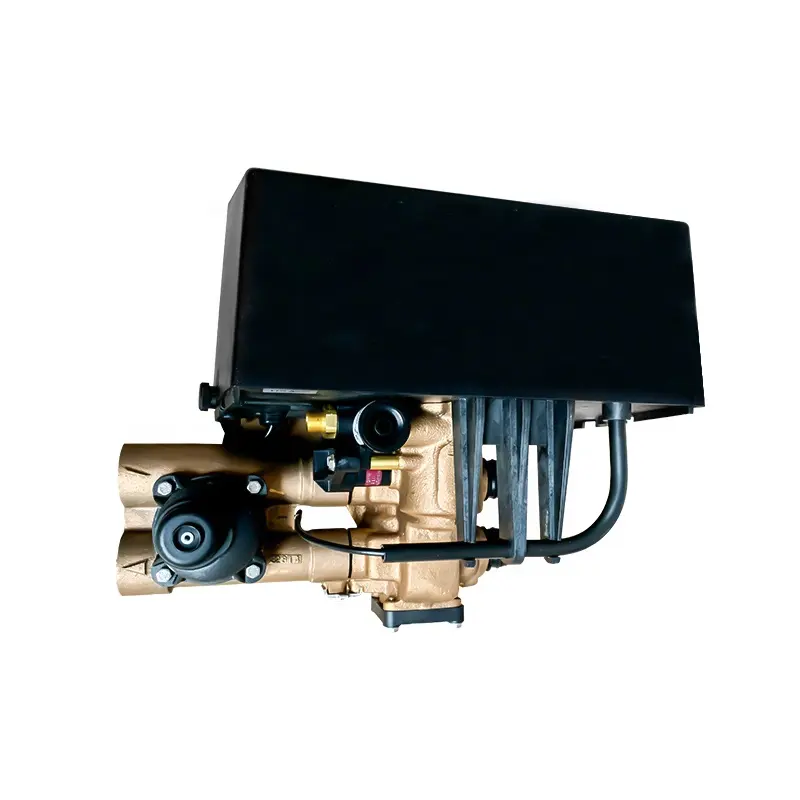
One of the key reasons why valve preparation is important for water softeners is to prevent clogs and blockages. Over time, minerals and sediment from the water can accumulate in the valves, hindering their ability to function properly. This can lead to reduced water flow, decreased efficiency, and potential damage to the water softener system. By properly preparing the valves, you can help ensure smooth operation and prevent costly repairs down the line.
Another important aspect of valve preparation is ensuring proper sealing and connectivity. Valves play a crucial role in directing the flow of water through the water softener system. If the valves are not properly prepared, they may fail to create a tight seal, leading to leaks and inefficiencies. By taking the time to clean, inspect, and lubricate the valves as needed, you can help maintain proper sealing and connectivity, ensuring that your water softener operates effectively.
Proper valve preparation also helps extend the lifespan of the water softener system. Valves that are neglected or not properly maintained are more prone to wear and tear, which can shorten the overall lifespan of the water softener. By regularly inspecting and cleaning the valves, you can help prevent premature failure and ensure that your water softener continues to work efficiently for years to come.
In addition to improving the performance and longevity of the water softener, proper valve preparation can also lead to cost savings. A well-maintained water softener system is more energy-efficient, as it can operate smoothly without any obstructions or malfunctions. This can result in lower energy bills and reduced maintenance costs over time. By investing time in valve preparation, you can ultimately save money in the long run.
To properly prepare the valves for your water softener, start by turning off the water supply and disconnecting the system. Inspect the valves for any signs of damage, corrosion, or buildup, and clean them thoroughly using a mild detergent and water. Lubricate the moving parts of the valves with a silicone-based lubricant to ensure smooth operation. Finally, reassemble the system, turn the water supply back on, and check for any leaks or issues.
In conclusion, proper valve preparation is essential for maintaining the performance, efficiency, and longevity of water softeners. By taking the time to clean, inspect, and lubricate the valves, you can prevent clogs, ensure proper sealing, extend the lifespan of the system, and save money in the long run. Make valve preparation a regular part of your water softener maintenance routine to enjoy the benefits of clean, soft water for years to come.
Step-by-Step Guide to Valve Prep for Water Softener Installation
Installing a water softener in your home can improve the quality of your water by reducing the levels of minerals like calcium and magnesium. One crucial step in the installation process is preparing the valve for the water softener. Proper valve preparation ensures that the water softener functions effectively and efficiently, providing you with softened water for your household needs.
| fixed bed GR large | ||||
| Model | GR15 Side/Top | GR20 Side/Top | GR40 Side/Top | GR50 |
| Output Max | 18T/H | 25T/H | 48T/H | 70T/H |
To begin the valve preparation process, you will first need to locate the main water supply line in your home. This is typically found near the water meter or where the water line enters your house. Shut off the main water supply to prevent any water flow during the valve prep and installation process. This step is essential to avoid any potential leaks or water damage.
Next, relieve the pressure in the water lines by opening a faucet at the highest point in your home. This will help drain any remaining water from the lines and reduce the risk of water spraying when you disconnect the water supply line from the valve.
| Model: Manual Softener Valve | MSD2 | MSS2 | MSD4 | MSD4-B | MSD10 |
| Working Position | Filter-> Back Wash-> Fast Rinse ->Filter | ||||
| Regeneration mode | Manual | ||||
| Inlet | 3/4” | 3/4” | 1” | 1” | 2” |
| Outlet | 3/4” | 3/4” | 1” | 1” | 2” |
| Drain | 3/4” | 3/4” | 1” | 1” | 2” |
| Base | 2-1/2” | 2-1/2” | 2-1/2” | 2-1/2” | 4” |
| Riser pipe | 1.05” OD | 1.05” OD | 1.05” OD | 1.05” OD | 1.5”D-GB |
| Water Capacity | 2m3/h | 2m3/h | 4m3/h | 4m3/h | 10m3/h |
| Working Pressure | 0.15-0.6Mpa | ||||
| Working Temperature | 5-50° C | ||||
| Power Supply | No need Power | ||||
Once the water lines are depressurized, you can proceed to disconnect the water supply line from the valve. Use an adjustable wrench to loosen the nuts connecting the water line to the valve. Be sure to have a bucket or towel handy to catch any residual water that may leak out during this step.
After disconnecting the water supply line, carefully remove the old valve from its mounting location. Inspect the area around the valve for any signs of corrosion or damage that may need to be addressed before installing the new valve. Clean the mounting area thoroughly to ensure a secure and stable installation for the new valve.
Before installing the new valve, it is recommended to apply plumber’s tape to the threads of the water supply line. This tape helps create a tight seal and prevents leaks once the valve is installed. Carefully thread the water supply line into the new valve and tighten the nuts securely with an adjustable wrench.
Once the new valve is securely in place, reconnect the water supply line to the valve. Double-check the connections to ensure they are tight and secure to prevent any leaks once the water supply is turned back on.
With the new valve installed and the water supply line connected, you can now turn the main water supply back on. Slowly open the main shut-off valve to allow water to flow back into the lines. Check the connections for any leaks and address any issues promptly to prevent water damage.

Finally, test the new valve by running water through the system and checking for proper functionality. Monitor the water softener for any unusual sounds or leaks that may indicate a problem with the valve installation. If everything is working correctly, you can enjoy the benefits of softened water in your home.
In conclusion, proper valve preparation is a crucial step in the installation of a water softener. By following this step-by-step guide, you can ensure a successful installation and optimal performance of your water softening system. Remember to take your time, follow the manufacturer’s instructions, and seek professional help if needed to complete the installation process smoothly and efficiently.

