“Keep your water softener running smoothly with a clean venturi valve.”
Steps to Clean Venturi Valve on Water Softener
Water softeners are essential appliances in many households, as they help to remove minerals such as calcium and magnesium from water, preventing limescale buildup in pipes and appliances. One crucial component of a water softener is the venturi valve, which is responsible for creating the suction needed to draw brine from the brine tank during the regeneration process. Over time, the venturi valve can become clogged with debris, reducing its effectiveness and potentially causing damage to the water softener. In this article, we will discuss how to clean the venturi valve on a water softener to ensure optimal performance.
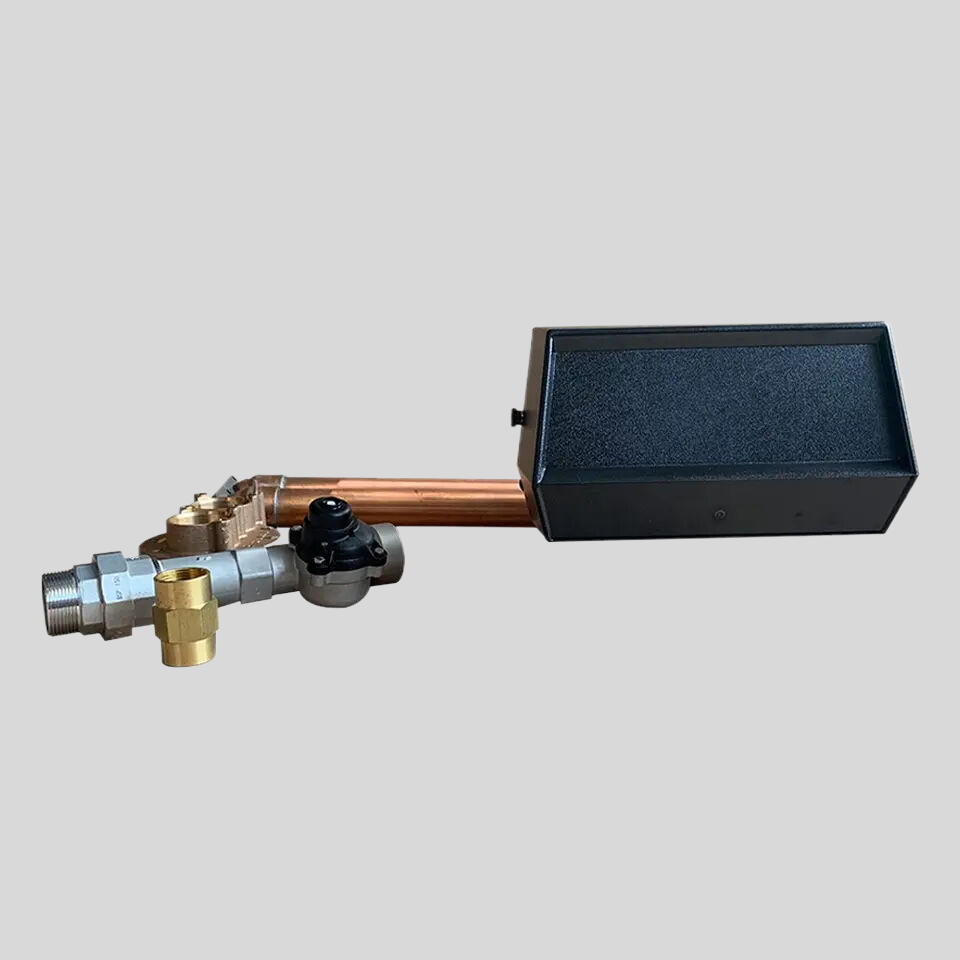
| Model | Central tube | Drain | Brine tank connector | Base | Power supply parameters | Maximum power | Pressure parameters | Operating temperature |
| 2700 | 1.05″ O.D. | 3/4″NPTF | 3/8″ & 1/2″ | 2-1/2″-8NPSM | 24V,110V,220V-50Hz,60Hz | 74W | 2.1MPa | 1℃-43℃ |
| 0.14-0.84MPa |
Before attempting to clean the venturi valve, it is important to turn off the water supply to the water softener and unplug the unit from the power source. This will prevent any water from flowing through the system while you are working on it. Next, locate the venturi valve, which is typically located near the brine tank on the back of the water softener. The venturi valve is a small plastic piece with a narrow opening that is responsible for creating the suction needed to draw brine from the brine tank.
To clean the venturi valve, you will need to remove it from the water softener. This can usually be done by unscrewing the valve from the water softener using a wrench or pliers. Once the valve is removed, inspect it for any visible debris or buildup. You may need to use a small brush or pipe cleaner to remove any clogs or blockages from the valve. Be sure to clean both the inside and outside of the valve thoroughly to ensure that it is free from any obstructions.
After cleaning the venturi valve, it is important to reassemble it properly before reattaching it to the water softener. Make sure that all connections are secure and that there are no leaks or loose fittings. Once the valve is reattached, turn the water supply back on and plug the water softener back in. Run a regeneration cycle to ensure that the venturi valve is functioning properly and that there are no issues with the water softener.
In addition to cleaning the venturi valve, it is also important to regularly maintain your water softener to ensure optimal performance. This includes regularly checking the salt levels in the brine tank and refilling it as needed, as well as checking for any leaks or other issues with the system. By taking proper care of your water softener, you can extend its lifespan and ensure that it continues to provide you with soft, clean water for years to come.
In conclusion, cleaning the venturi valve on a water softener is an important maintenance task that should be performed regularly to ensure optimal performance. By following the steps outlined in this article, you can keep your water softener running smoothly and prevent any potential issues that may arise from a clogged or blocked venturi valve. Remember to always turn off the water supply and unplug the unit before attempting any maintenance tasks, and to reassemble the valve properly before reattaching it to the water softener. With proper care and maintenance, your water softener will continue to provide you with soft, clean water for years to come.