Table of Contents
Understanding the Importance of Proper Calibration Range for Conductivity Meters
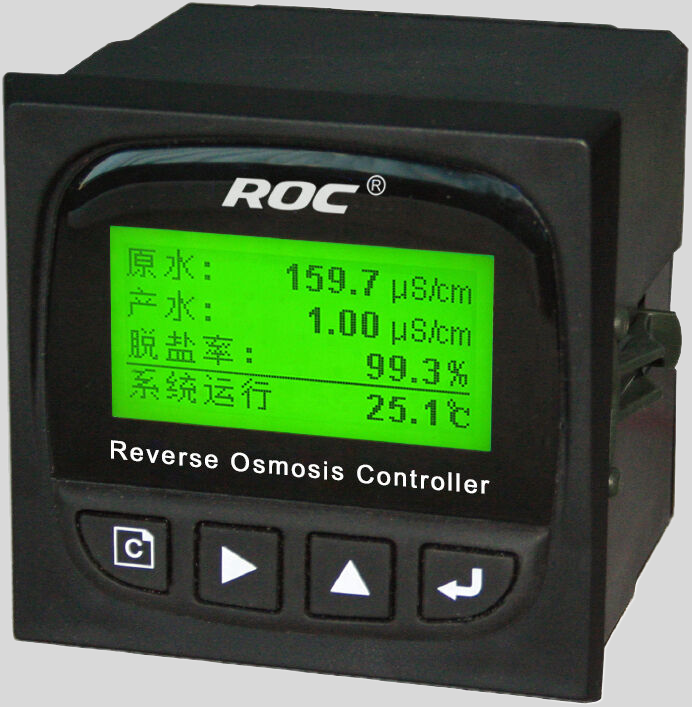
Conductivity meters are essential tools used in various industries to measure the ability of a solution to conduct electricity. These meters are crucial for ensuring the quality and consistency of products in industries such as pharmaceuticals, food and beverage, and water treatment. However, to ensure accurate and reliable measurements, it is important to calibrate conductivity meters regularly.
One of the key factors to consider when calibrating a conductivity meter is the calibration range. The calibration range refers to the range of conductivity values that the meter is calibrated to measure accurately. It is crucial to select the appropriate calibration range based on the expected conductivity values of the solutions being measured.
Choosing the correct calibration range is essential for obtaining accurate and reliable measurements. If the calibration range is too narrow, the meter may not be able to accurately measure solutions with higher or lower conductivity values. On the other hand, if the calibration range is too broad, the meter may not be sensitive enough to detect small changes in conductivity.
To determine the appropriate calibration range for a conductivity meter, it is important to consider the conductivity values of the solutions that will be measured. For example, in industries where solutions with low conductivity values are common, such as in the pharmaceutical industry, a meter with a lower calibration range may be more suitable. Conversely, in industries where solutions with high conductivity values are prevalent, such as in the water treatment industry, a meter with a higher calibration range may be necessary.
It is also important to consider the accuracy requirements of the measurements. If precise measurements are required, it may be necessary to select a meter with a narrower calibration range to ensure accurate readings. Conversely, if less precise measurements are acceptable, a meter with a broader calibration range may be sufficient.
In addition to selecting the appropriate calibration range, it is important to calibrate conductivity meters regularly to ensure accurate measurements. Calibration involves comparing the readings of the meter to known standards and making any necessary adjustments to ensure accuracy. Regular calibration helps to maintain the reliability and accuracy of the meter over time.
In conclusion, the calibration range is a critical factor to consider when calibrating conductivity meters. Selecting the appropriate calibration range based on the conductivity values of the solutions being measured is essential for obtaining accurate and reliable measurements. Regular calibration is also important to ensure the accuracy and reliability of conductivity meters. By understanding the importance of proper calibration range for conductivity meters, industries can ensure the quality and consistency of their products.
Step-by-Step Guide to Calibrating Conductivity Meters within the Recommended Range
Conductivity meters are essential tools used in various industries to measure the ability of a solution to conduct electricity. To ensure accurate readings, it is crucial to calibrate these meters regularly. One important aspect of calibration is setting the calibration range within the recommended limits. In this article, we will provide a step-by-step guide on how to calibrate conductivity meters within the recommended range.
The first step in calibrating a conductivity meter is to gather all the necessary equipment. This includes the conductivity meter, calibration solutions of known conductivity values, a clean container for the solutions, and a stirrer. It is important to use calibration solutions that fall within the recommended range for the specific meter being calibrated.
Once the equipment is ready, the next step is to prepare the calibration solutions. Start by pouring a small amount of the first calibration solution into the clean container. Make sure to stir the solution thoroughly to ensure uniformity. Repeat this process for each calibration solution that will be used during the calibration process.
After preparing the calibration solutions, it is time to start the calibration process. Turn on the conductivity meter and allow it to warm up for a few minutes. Once the meter is ready, dip the probe into the first calibration solution and wait for the reading to stabilize. Compare the reading on the meter to the known conductivity value of the solution. If there is a significant difference, adjustments may be needed.
To adjust the calibration of the meter, most models have a calibration knob or button that can be used to make changes. Follow the manufacturer’s instructions for making adjustments to ensure accuracy. Once the first calibration solution has been adjusted, repeat the process with the remaining calibration solutions.
It is important to note that the calibration range for conductivity meters can vary depending on the model and manufacturer. It is crucial to refer to the user manual or contact the manufacturer for specific guidelines on the recommended calibration range for your meter. Operating outside of the recommended range can result in inaccurate readings and potentially damage the meter.
After calibrating the conductivity meter with all the calibration solutions, it is essential to rinse the probe with distilled water to remove any residue. Store the meter in a clean, dry place when not in use to prevent contamination and ensure accurate readings in the future.
| Model | FL-9900 Paddle Wheel flow meter |
| Range | Flow Speed:0.5-5 m/s |
| Instantaneous Flow:0-2000m3/h | |
| Accuracy | Level 2 |
| Temp. Comp. | Automatic temperature compensation |
| Oper. Temp. | Normal 0\uff5e60\u2103; High temp 0\uff5e100\u2103 |
| Sensor | Paddle Wheel Sensor |
| Pipeline | DN20-DN300 |
| Communication | 4-20mA output/RS485 |
| Control | Instantaneous Flow High/Low alarm |
| Load Current 5A(Max) | |
| Power | 220V/110V/24V |
| Working Environment | Ambient temperature:0\uff5e50\u2103 |
| Relative humidity\u226485% | |
| Dimensions | 96\u00d796\u00d772mm(H\u00d7W\u00d7L) |
| Hole Size | 92\u00d792mm(H\u00d7W) |
| Installation Mode | Embedded |
In conclusion, calibrating conductivity meters within the recommended range is essential for obtaining accurate readings. By following the step-by-step guide outlined in this article and using calibration solutions within the recommended range, you can ensure that your conductivity meter is operating correctly. Regular calibration will help maintain the accuracy and reliability of your meter, ultimately leading to better results in your work.

