Table of Contents
Benefits of Building Your Own DIY turbidity sensor
Turbidity sensors are essential tools used in various industries to measure the clarity of liquids by detecting the presence of suspended particles. These sensors are commonly used in water treatment plants, aquariums, and environmental monitoring systems to ensure the quality of water. While there are many commercially available turbidity sensors on the market, building your own DIY turbidity sensor can offer several benefits.
One of the main advantages of building your own DIY turbidity sensor is cost savings. Commercial turbidity sensors can be quite expensive, especially for high-quality models. By sourcing the components and assembling the sensor yourself, you can significantly reduce the overall cost of the project. This can be particularly beneficial for individuals or organizations operating on a tight budget.
Another benefit of building your own DIY turbidity sensor is customization. Commercial sensors may not always meet the specific requirements of your project or application. By building your own sensor, you have the flexibility to tailor the design and functionality to suit your needs. This can include adjusting the sensitivity of the sensor, modifying the output signals, or integrating additional features.
Building a DIY turbidity sensor can also be a rewarding learning experience. It provides an opportunity to gain hands-on experience with electronics, sensors, and data analysis. This can be particularly valuable for students, hobbyists, or professionals looking to expand their skills and knowledge in the field of sensor technology. Additionally, building your own sensor allows you to better understand how the device works and how to troubleshoot any issues that may arise.
In addition to cost savings, customization, and learning opportunities, building your own DIY turbidity sensor can also be environmentally friendly. By using recycled or repurposed materials, you can reduce waste and minimize the environmental impact of your project. This aligns with the growing trend of sustainable and eco-friendly DIY projects that promote resource conservation and waste reduction.
When building your own DIY turbidity sensor, there are a few key components that you will need. These include a light source, a photodetector, a sample chamber, and a microcontroller for data processing. The light source emits light into the sample chamber, where it interacts with suspended particles in the liquid. The photodetector measures the intensity of light scattered by the particles, which is then processed by the microcontroller to calculate the turbidity of the liquid.
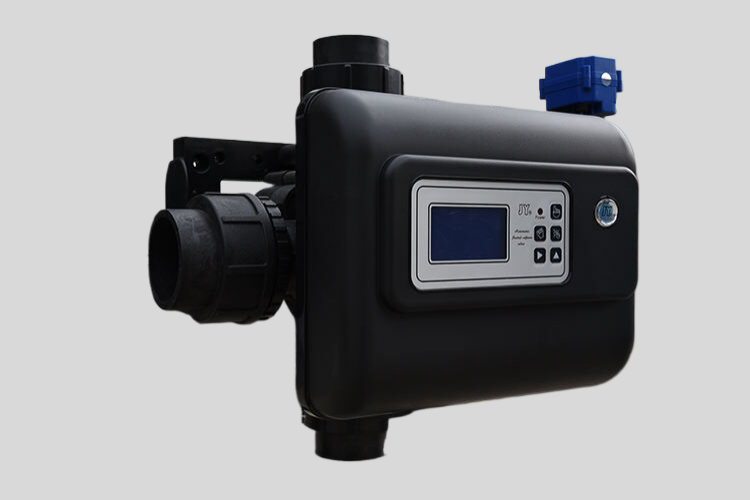
| Product Model | MFC-8800 | |
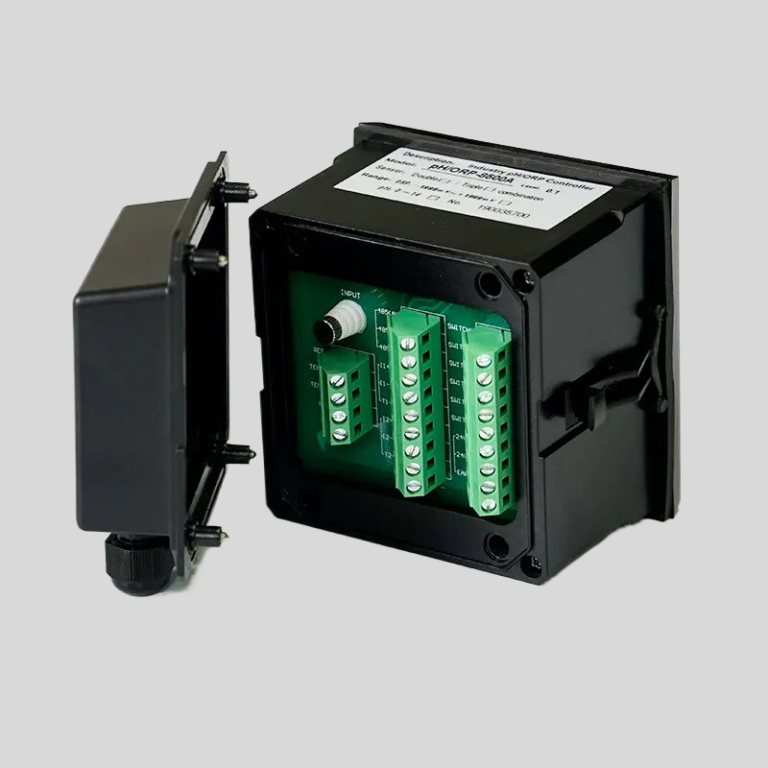
| Communication port | The uplink slave channel Modbus RTU protocol RS485 port is connected with DTU and DCS | |
| Downlink master channel RS485 port of Modbus RTU protocol is connected with data acquisition terminal | ||
| 4~20mA output | 1 channel two-wire type Maximum loop resistance 400Ω | |
| 4~20mA Input | 2 channel channel two-wire type( initiative feed) | |
| DI Input | 2channels Photoelectric isolation logic switch | |
| DO Output | 3 channels relay | 1 SPDT AC220V; 3A(MAX) |
| (only for drive signal) | 2 SPST AC220V; 3A(MAX) | |
| 1channel Photoelectric switch | Proportional pulse/frequency | |
| Load capacity:100mA/DC30V | ||
| Data acquisition | Data acquisition collection,with 3 channels DC24V sensor power supply | |
| Display mode | 3.5”(or 4”)colorful LCD touch screen | |
| Power supply | Wide power range :(12-24)V | |
| Consumption | <5W | |
| Environment requirements | Environment temp:(5~45)℃; relative humidity:≤90%。 | |
| Hole dimension | (91×91)mm hole dimension;panel dimension(100*100)mm | |
To build your own DIY turbidity sensor, you can find step-by-step instructions and tutorials online. There are many resources available that provide guidance on selecting the right components, assembling the sensor, and calibrating it for accurate measurements. Additionally, there are open-source platforms and communities where you can share your project, collaborate with others, and contribute to the development of DIY sensor technology.

In conclusion, building your own DIY turbidity sensor offers several benefits, including cost savings, customization, learning opportunities, and environmental sustainability. By taking on this DIY project, you can create a high-quality sensor that meets your specific needs and gain valuable experience in sensor technology. Whether you are a student, hobbyist, or professional, building your own sensor can be a rewarding and fulfilling endeavor.
Step-by-Step Guide to Creating a DIY turbidity sensor for Water Quality Monitoring
Water quality monitoring is essential for ensuring the safety of our drinking water and the health of aquatic ecosystems. Turbidity, or the cloudiness or haziness of a fluid caused by suspended particles, is a key indicator of water quality. High turbidity levels can indicate the presence of pollutants or sediment that can harm aquatic life and make water unsafe for consumption. To help monitor turbidity levels in water bodies, a turbidity sensor can be a valuable tool. In this article, we will provide a step-by-step guide on how to create a DIY turbidity sensor for water quality monitoring.
To begin, gather the necessary materials for building your DIY turbidity sensor. You will need a light source, a photodetector, a container to hold the water sample, and a microcontroller to process the sensor data. The light source can be an LED or laser diode, while the photodetector can be a photodiode or phototransistor. Make sure to choose components that are sensitive to changes in light intensity, as this will be crucial for measuring turbidity levels accurately.
Next, assemble the components to create the sensor. Place the light source and photodetector on opposite sides of the water sample container, ensuring that the light from the source passes through the water before reaching the detector. This setup will allow the sensor to measure the amount of light that is scattered or absorbed by suspended particles in the water, which is directly related to turbidity levels.
Once the sensor is assembled, connect it to the microcontroller to process the sensor data. You can use a simple Arduino board or similar microcontroller to read the output from the photodetector and calculate the turbidity level based on the amount of light detected. Make sure to calibrate the sensor using water samples with known turbidity levels to ensure accurate measurements.
After calibrating the sensor, you can begin using it to monitor turbidity levels in water samples. Dip the sensor into the water sample and record the output from the microcontroller. The sensor will provide real-time data on turbidity levels, allowing you to track changes in water quality over time.
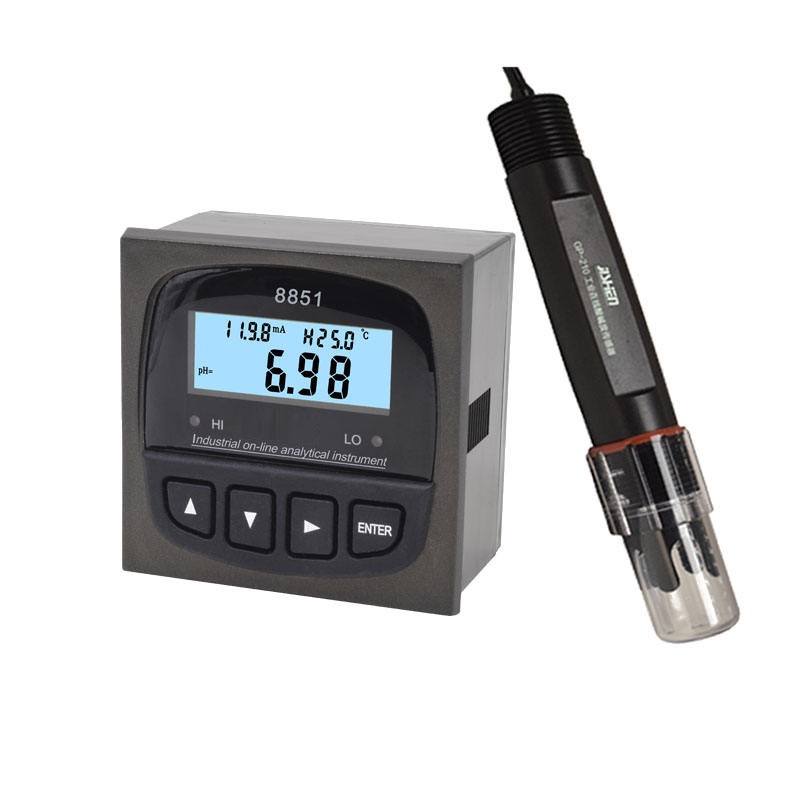
| Model | EC-1800 online conductivity controller |
| Range | 0-2000/4000uS/cm 0-20/200mS/cm |
| 0-1000/2000PPM | |
| Accuracy | 1.5%, 2%, 3%(FS) |
| Temp. Comp. | Automatic temperature compensation based on 25℃ |
| Oper. Temp. | Normal 0~50℃; High temp 0~120℃ |
| Sensor | C=0.1/1.0/10.0cm-1 |
| Display | 128*64 LCD Screen |
| Communication | 4-20mA output/2-10V/1-5V/RS485 |
| Output | High/Low limit dual relay control |
| Power | AC 220V±10% 50/60Hz or AC 110V±10% 50/60Hz or DC24V/0.5A |
| Working Environment | Ambient temperature:0~50℃ |
| Relative humidity≤85% | |
| Dimensions | 96×96×100mm(H×W×L) |
| Hole Size | 92×92mm(H×W) |
| Installation Mode | Embedded |
In addition to monitoring turbidity levels, you can also use the DIY sensor to detect sudden spikes in turbidity that may indicate pollution events or sediment runoff. By regularly monitoring water quality with the turbidity sensor, you can take proactive measures to protect aquatic ecosystems and ensure the safety of drinking water sources.
In conclusion, creating a DIY turbidity sensor for water quality monitoring is a cost-effective and practical way to track turbidity levels in water bodies. By following the step-by-step guide outlined in this article, you can build a reliable sensor that will help you monitor water quality and protect the environment. Remember to calibrate the sensor and use it regularly to ensure accurate measurements and timely detection of water quality issues. With your DIY turbidity sensor in hand, you can contribute to the preservation of clean and healthy water sources for generations to come.