Table of Contents
Exploring the Basics of Gravity analog turbidity sensor for Arduino
Turbidity sensors are essential tools in water quality monitoring, as they measure the cloudiness or haziness of a fluid caused by suspended particles. These sensors are commonly used in environmental monitoring, wastewater treatment, and industrial processes to ensure water quality standards are met. The Gravity analog turbidity sensor for Arduino is a popular choice among hobbyists and professionals alike due to its ease of use and accuracy.
One of the key features of the Gravity analog turbidity sensor is its compatibility with Arduino microcontrollers. Arduino is an open-source electronics platform that allows users to create interactive projects by controlling sensors and actuators. By connecting the turbidity sensor to an Arduino board, users can easily read and analyze turbidity levels in real-time.
The Gravity analog turbidity sensor operates on the principle of light scattering. When light is shone through a sample of water, suspended particles in the water will scatter the light in different directions. The turbidity sensor measures the amount of light scattered by the particles to determine the turbidity level of the water. The sensor outputs an analog voltage signal that can be read by the Arduino board.
To use the Gravity analog turbidity sensor with an Arduino, users simply need to connect the sensor to the Arduino board using jumper wires. The sensor has three pins: VCC, GND, and SIG. VCC should be connected to the 5V pin on the Arduino, GND to the GND pin, and SIG to any analog input pin on the Arduino. Once the sensor is connected, users can write a simple Arduino sketch to read the analog voltage output from the sensor and convert it to a turbidity value.
One of the advantages of the Gravity analog turbidity sensor is its high sensitivity and accuracy. The sensor can detect turbidity levels as low as 0.1 NTU (Nephelometric Turbidity Units), making it suitable for a wide range of applications. Additionally, the sensor has a wide measurement range of 0-3000 NTU, allowing users to monitor turbidity levels in both clean and turbid water samples.
Another benefit of the Gravity analog turbidity sensor is its compact size and easy integration with Arduino projects. The sensor is small and lightweight, making it ideal for portable and field applications. Additionally, the sensor is compatible with a wide range of Arduino boards, including the popular Arduino Uno and Arduino Mega, making it accessible to a large user base.
In conclusion, the Gravity analog turbidity sensor for Arduino is a versatile and reliable tool for measuring turbidity levels in water. Its compatibility with Arduino microcontrollers, high sensitivity, and accuracy make it a popular choice among hobbyists and professionals alike. By integrating the sensor into Arduino projects, users can easily monitor and analyze water quality in real-time. Whether you are a beginner looking to learn about water quality monitoring or a seasoned professional in need of a reliable turbidity sensor, the Gravity analog turbidity sensor is a valuable tool to have in your toolkit.
Step-by-Step Guide to Setting Up and Calibrating a Gravity analog turbidity sensor with Arduino
Turbidity sensors are essential tools in water quality monitoring, as they measure the cloudiness or haziness of a fluid caused by suspended particles. The Gravity analog turbidity sensor is a popular choice among hobbyists and professionals alike due to its accuracy and ease of use. In this article, we will provide a step-by-step guide on how to set up and calibrate a Gravity analog turbidity sensor with an Arduino microcontroller.
To begin, gather all the necessary components for the project. You will need a Gravity analog turbidity sensor, an Arduino board (such as the Arduino Uno), jumper wires, a breadboard, and a USB cable to connect the Arduino to your computer. Make sure to have the Arduino IDE software installed on your computer as well.
Start by connecting the Gravity analog turbidity sensor to the Arduino board using jumper wires. The sensor has four pins: VCC, GND, AOUT, and DOUT. Connect the VCC pin to the 5V pin on the Arduino, the GND pin to the GND pin, and the AOUT pin to an analog input pin (such as A0). You can leave the DOUT pin unconnected for this project.
Next, open the Arduino IDE software on your computer and create a new sketch. Begin by defining the analog input pin that the sensor is connected to and setting up the serial communication for data output. You can then write a simple code to read the analog value from the sensor and print it to the serial monitor. Upload the sketch to the Arduino board and open the serial monitor to view the sensor readings.
Now it’s time to calibrate the sensor. Fill a clear container with clean water and place the sensor inside. Take note of the analog value displayed on the serial monitor. This value represents the baseline reading for clean water. You can use this value as a reference point for measuring turbidity in other samples.
To calibrate the sensor for turbidity measurements, you can introduce different levels of suspended particles into the water. For example, you can add a small amount of sand or dirt to the water and observe how it affects the sensor readings. Keep track of the analog values for each turbidity level to create a calibration curve.
| Product Model | DOF-6310 (DOF-6141) |
| Product Name | Dissolved oxygen data collection terminal |
| Measuring Method | Fluorescence Method |
| Measurement range | 0-20mg/L |
| Accuracy | ±0.3mg/L |
| Resolution | 0.01mg/L |
| Response time | 90s |
| Repeatibility | 5%RS |
| Temperature compensation | 0-60.0℃ Accuracy:±0.5℃ |
| Air pressure compensation | 300-1100hPa |
| Stand pressure | 0.3Mpa |
| Communication | RS485 MODBUS-RTU standard protocol |
| Power | DC(9-28)V |
| Power comsuption | <2W |
| Operational envrionment | Temperature:(0-50)℃ |
| Storage Environment | Temperature:(-10-60)℃; Humidity:≤95%RH(None condensation) |
| Installation | Submerged |
| Protection Level | IP68 |
| Weight | 1.5Kg(with 10m cable) |
Once you have collected enough data points, you can use this information to convert the sensor readings into turbidity values. You can create a simple formula or lookup table to map the analog values to turbidity levels. This will allow you to accurately measure the turbidity of water samples using the Gravity analog turbidity sensor with Arduino.
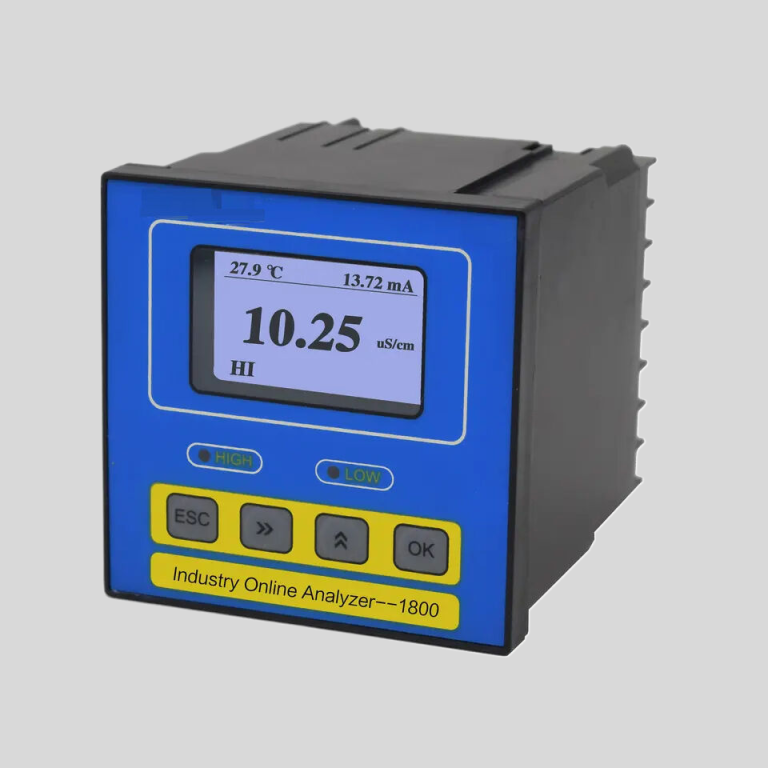
| Model | DO-810/1800 dissolved oxygen meter |
| Range | 0-20.00 mg/L |
| Accuracy | ±0.5% FS |
| Temp. Comp. | 0-60℃ |
| Oper. Temp. | 0~60℃ |
| Sensor | dissolved oxygen sensor |
| Display | Segment code operation/128*64 LCD Screen(DO-1800) |
| Communication | Optional RS485 |
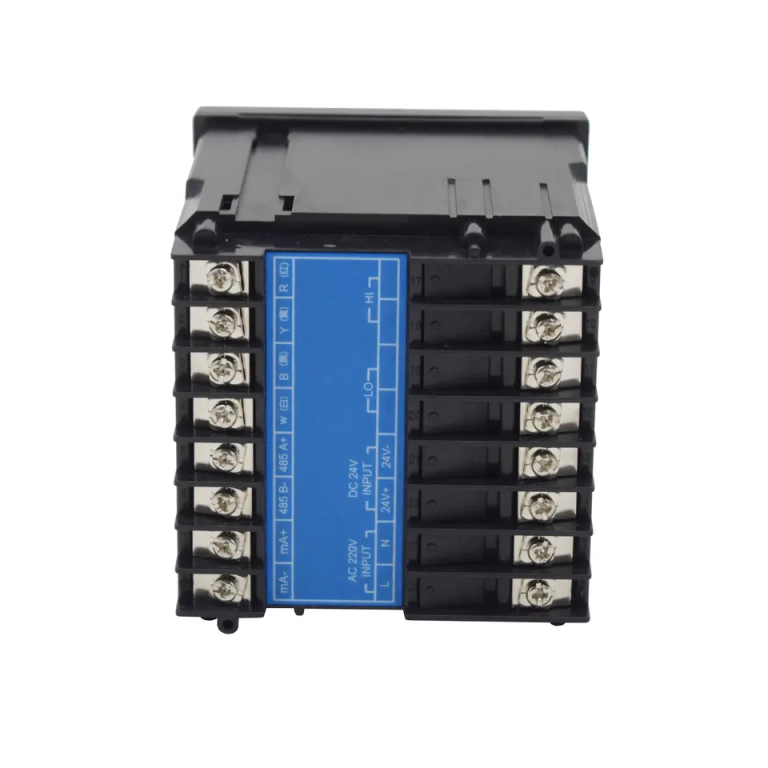
| Output | 4-20mA output High/Low limit double relay control |
| Power | AC 220V±10% 50/60Hz or AC 110V±10% 50/60Hz or DC24V/0.5A |
| Working Environment | Ambient temperature:0~50℃ |
| Relative humidity≤85% | |
| Dimensions | 96×96×100mm(H×W×L) |
| Hole Size | 92×92mm(H×W) |
| Installation Mode | Embedded |
In conclusion, setting up and calibrating a Gravity analog turbidity sensor with Arduino is a straightforward process that can be done by anyone with basic electronics knowledge. By following the steps outlined in this guide, you can create a reliable turbidity monitoring system for water quality assessment. Whether you are a hobbyist or a professional, the Gravity analog turbidity sensor is a versatile tool that can be used in a variety of applications.