Table of Contents
Tips for Installing TDS Controller in RO System
Total Dissolved Solids (TDS) are a common measurement used in water purification systems to determine the level of impurities present in the water. Installing a TDS Controller in a Reverse Osmosis (RO) system is a crucial step in ensuring that your water is clean and safe for consumption. In this article, we will provide you with some tips on how to properly install a TDS Controller in your RO system.
First and foremost, it is important to gather all the necessary tools and equipment before starting the installation process. You will need a TDS Controller, a power source, tubing, and fittings. Make sure to read the manufacturer’s instructions carefully to ensure that you have everything you need for a successful installation.
Once you have all the necessary tools and equipment, the next step is to locate a suitable spot for the TDS Controller in your RO system. It is recommended to install the TDS Controller after the RO membrane and before the final stage of filtration. This will allow you to monitor the TDS levels of the water before it is dispensed from the system.
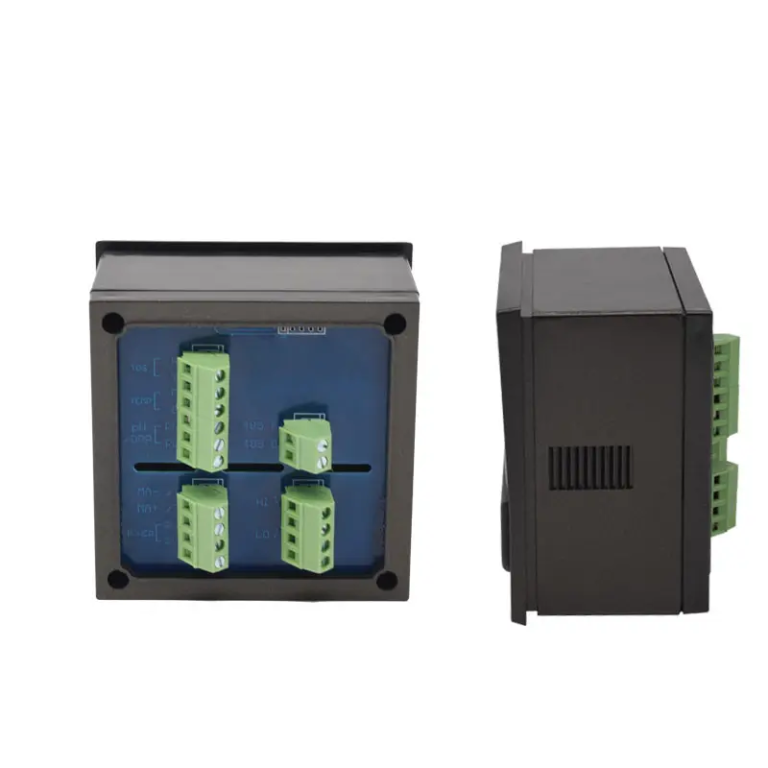
| ROC-2315 ro controller instruction (220V) | |||
| Model | ROC-2315 | ||
| Single detection | Dry Contact input | Raw water no water protection | |
| (six channels) | Low-pressure protection | ||
| High-pressure protection | |||
| Pure water tank high level | |||
| External control mode signal | |||
| Running reset | |||
| Control port | Dry Contact output | Raw water pump | SPST-NO low capacity : AC220V/3A Max ;AC110V/5A Max |
| (five channels) | Inlet valve | ||
| High pressure pump | |||
| Flush valve | |||
| Conductivity over-limit drainge valve | |||
| Measurement detection point | Product water conductivity and with Automatic Temperature compensation (0~50)℃ | ||
| Measurement range | Conductivity : 0.1~200μS/cm/1~2000μS/cm/10~999μS/cm (with different conductivity sensor ) | ||
| Product water temp. : 0~50℃ | |||
| Accuracy | 1.5 level | ||
| Power supply | AC220V (±10%) , 50/60Hz | ||
| Working environment | Temperature:(0~50)℃ ; | ||
| Relative Humidity :≤85%RH (no condensation ) | |||
| Dimension | 96×96×130mm( height ×width×depth) | ||
| Hole size | 91×91mm(height ×width) | ||
| Installation | Panel mounted ,fast installtion | ||
| Certification | CE | ||
After determining the placement of the TDS Controller, you will need to connect it to the RO system using the tubing and fittings provided. Make sure to follow the manufacturer’s instructions for proper installation to avoid any leaks or malfunctions. It is also important to ensure that the tubing is securely connected to prevent any water from leaking out.
Once the TDS Controller is properly connected to the RO system, you will need to connect it to a power source. Most TDS controllers come with a power adapter that can be plugged into a standard electrical outlet. Make sure to check the voltage requirements of the TDS Controller before plugging it in to avoid any damage.

After connecting the TDS Controller to the power source, you will need to calibrate it to ensure accurate readings. This can usually be done by following the instructions provided by the manufacturer. It is important to calibrate the TDS Controller regularly to maintain its accuracy and reliability.
Once the TDS Controller is properly installed and calibrated, you can start monitoring the TDS levels of your water. The TDS Controller will display the TDS levels in parts per million (ppm), allowing you to determine the quality of your water. If the TDS levels are higher than desired, you may need to replace the filters in your RO system or adjust the settings to improve the water quality.
In conclusion, installing a TDS Controller in your RO system is a simple yet important step in ensuring that your water is clean and safe for consumption. By following the tips provided in this article, you can easily install a TDS Controller in your RO system and monitor the TDS levels of your water effectively. Remember to read the manufacturer’s instructions carefully and calibrate the TDS Controller regularly for optimal performance.
Step-by-Step Guide to Installing TDS Controller in RO System
Total Dissolved Solids (TDS) are a common concern when it comes to water quality. High levels of TDS can affect the taste and safety of drinking water, which is why many people choose to install a TDS Controller in their Reverse Osmosis (RO) system. If you’re looking to improve the quality of your drinking water, installing a TDS Controller in your RO system is a great place to start. In this article, we will provide you with a step-by-step guide on how to install a TDS Controller in your RO system.
Before you begin the installation process, it’s important to gather all the necessary tools and materials. You will need a TDS Controller, a power supply, tubing, a drill, and a screwdriver. Once you have everything you need, you can begin the installation process.
The first step is to locate a suitable spot for the TDS Controller. It should be installed after the RO membrane and before the final stage of filtration. This will allow the TDS Controller to accurately measure the TDS levels in the water before it is dispensed.
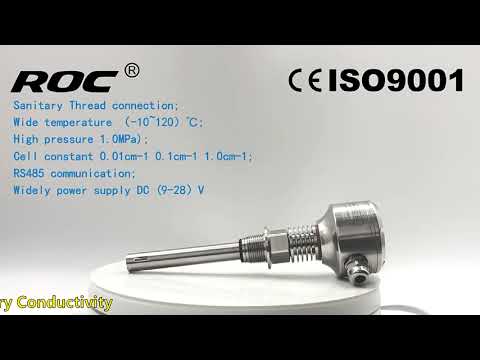
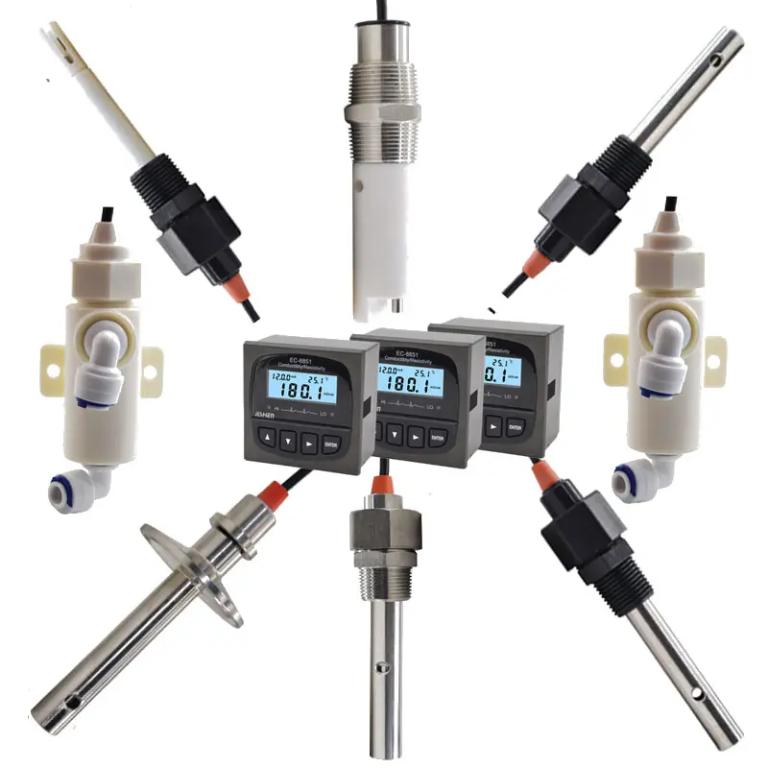
| Model | EC-1800 online conductivity controller |
| Range | 0-2000/4000uS/cm 0-20/200mS/cm |
| 0-1000/2000PPM | |
| Accuracy | 1.5%, 2%, 3%(FS) |
| Temp. Comp. | Automatic temperature compensation based on 25℃ |
| Oper. Temp. | Normal 0~50℃; High temp 0~120℃ |
| Sensor | C=0.1/1.0/10.0cm-1 |
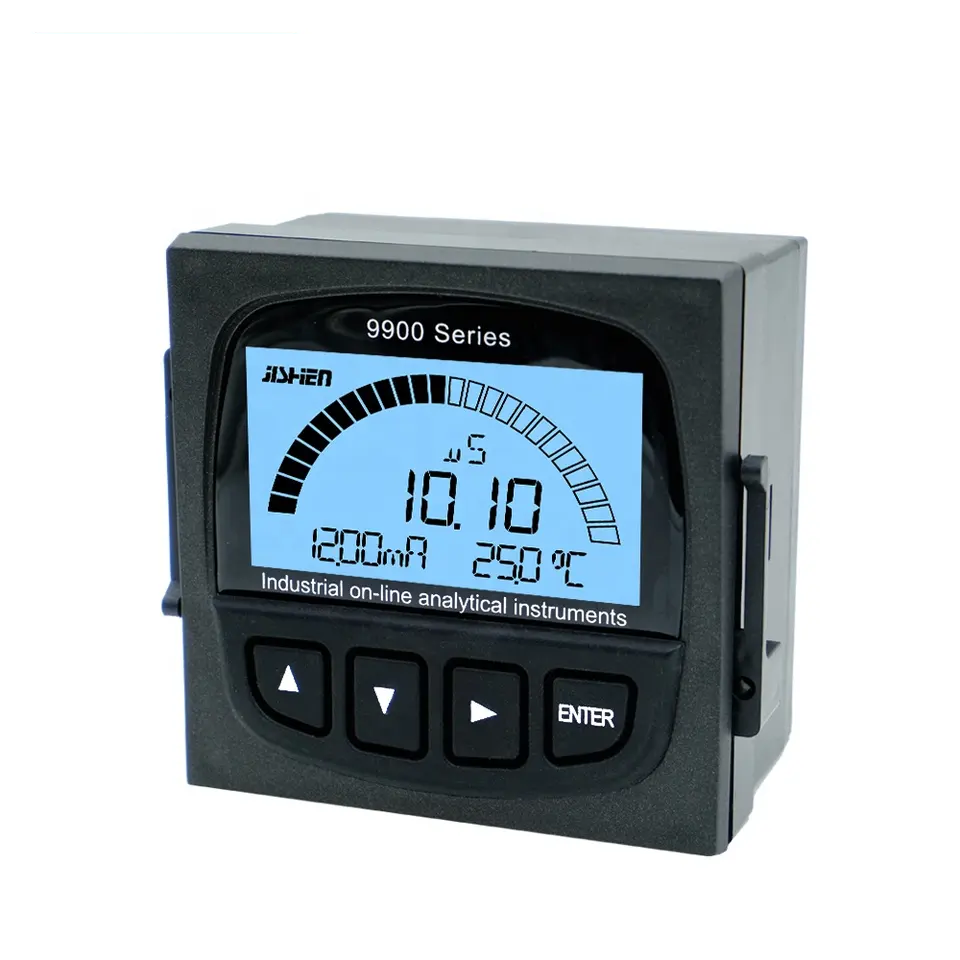
| Display | 128*64 LCD Screen |
| Communication | 4-20mA output/2-10V/1-5V/RS485 |
| Output | High/Low limit dual relay control |
| Power | AC 220V±10% 50/60Hz or AC 110V±10% 50/60Hz or DC24V/0.5A |
| Working Environment | Ambient temperature:0~50℃ |
| Relative humidity≤85% | |
| Dimensions | 96×96×100mm(H×W×L) |
| Hole Size | 92×92mm(H×W) |
| Installation Mode | Embedded |
Next, you will need to drill a hole in the RO system’s tubing to install the TDS Controller. Make sure to choose a spot that is easily accessible and will not interfere with the operation of the RO system. Once you have drilled the hole, insert the tubing into the TDS Controller and secure it in place with a screwdriver.
After the tubing is securely in place, you can connect the power supply to the TDS Controller. Make sure to follow the manufacturer’s instructions for proper wiring and connections. Once the power supply is connected, you can turn on the TDS Controller and calibrate it according to the manufacturer’s guidelines.
Once the TDS Controller is properly calibrated, you can test the water to ensure that it is functioning correctly. Fill a glass with water from the RO system and check the TDS reading on the controller. If the reading is within an acceptable range, then the TDS Controller is working properly.
If the TDS reading is too high, you may need to adjust the settings on the TDS Controller or check for any leaks in the tubing. It’s important to regularly monitor the TDS levels in your water to ensure that your RO system is working effectively.
In conclusion, installing a TDS Controller in your RO system is a simple and effective way to improve the quality of your drinking water. By following the step-by-step guide outlined in this article, you can easily install a TDS Controller in your RO system and enjoy clean, safe drinking water. Remember to regularly monitor the TDS levels in your water to ensure that your RO system is functioning properly.