“Effortlessly Remove water softener bypass valve Clips with Our Simple Guide!”
Step-by-step guide to removing water softener bypass valve clips
Water softeners are essential for removing minerals and impurities from your water supply, ensuring that you have clean and soft water for everyday use. However, there may come a time when you need to remove the bypass valve clips on your water softener. Whether it’s for maintenance or repair purposes, knowing how to remove these clips is crucial. In this step-by-step guide, we will walk you through the process of removing water softener bypass valve clips.
Before we begin, it’s important to note that working with water softeners involves dealing with plumbing and water connections. If you’re not comfortable or experienced in this area, it’s always best to seek professional help. Safety should be your top priority.
Step 1: Turn off the Water Supply
The first step in removing water softener bypass valve clips is to turn off the water supply. Locate the main water shut-off valve in your home and turn it off. This will prevent any water from flowing into the water softener during the removal process.
Step 2: Release Pressure
Next, you’ll need to release the pressure from the water softener system. To do this, open a faucet or valve downstream from the water softener. This will allow any remaining water pressure to escape, making it easier to work on the bypass valve clips.
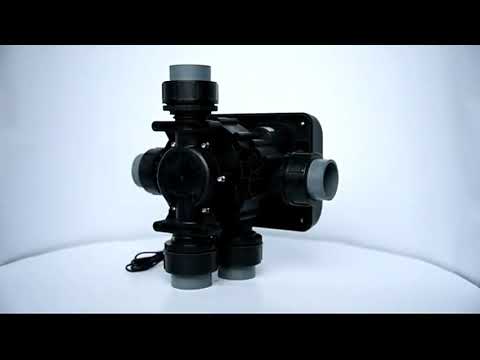
Step 3: Locate the Bypass Valve
Once the pressure is released, locate the bypass valve on your water softener. This valve is typically located near the control head or control valve of the water softener system. It may be labeled or have a distinct appearance, making it easier to identify.

Step 4: Remove the Clips
With the bypass valve located, it’s time to remove the clips. These clips are designed to hold the bypass valve in place and prevent it from accidentally being engaged. Using a pair of pliers or a wrench, carefully loosen and remove the clips. Be cautious not to damage any surrounding components or plumbing connections.
Step 5: Disconnect the Bypass Valve
Once the clips are removed, you can disconnect the bypass valve from the water softener system. This may involve unscrewing or unthreading the valve from the control head or control valve. Follow the manufacturer’s instructions for your specific water softener model to ensure proper disconnection.
Step 6: Inspect and Clean
With the bypass valve removed, take the opportunity to inspect and clean it. Look for any signs of damage or wear, such as cracks or leaks. If necessary, replace the bypass valve with a new one. Additionally, clean any debris or buildup from the valve and surrounding components to ensure optimal performance.
Step 7: Reinstall the Bypass Valve
| Model | Central tube | Drain | Brine tank connector | Base | Power supply parameters | Maximum power | Pressure parameters | Operating temperature |
| 2850 | 1.9″(1.5″)O.D. | 1″NPTM | 3/8″&1/2″ | 4″-8UN | 24v,110v,220v-50Hz,60Hz | 72W | 2.1MPa | 1℃-43℃ |
| 0.14-0.84MPa |
Once the bypass valve is inspected and cleaned, it’s time to reinstall it. Follow the reverse steps of the removal process, carefully reconnecting the valve to the control head or control valve. Ensure that all connections are secure and tight to prevent any leaks.
Step 8: Restore Water Supply
Finally, it’s time to restore the water supply. Turn on the main water shut-off valve and allow water to flow back into the water softener system. Check for any leaks or abnormalities in the system, and make any necessary adjustments or repairs.
In conclusion, removing water softener bypass valve clips is a relatively straightforward process that requires careful attention and proper tools. By following this step-by-step guide, you can safely remove and reinstall the bypass valve on your water softener system. Remember to always prioritize safety and seek professional help if needed.