Upgrade Your water softener control valve: Say Goodbye to Hard Water!
Steps to Replace a water softener control valve
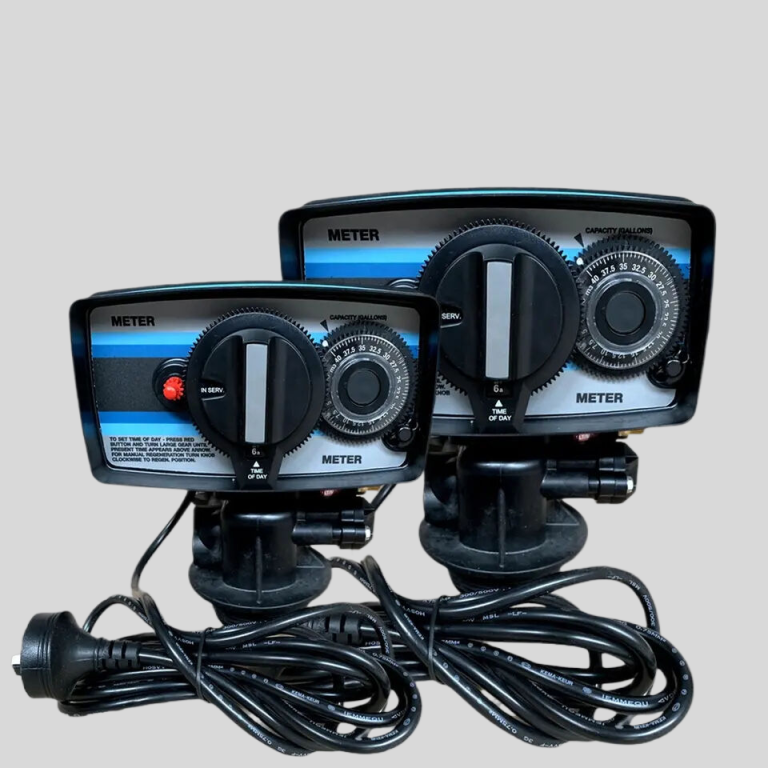
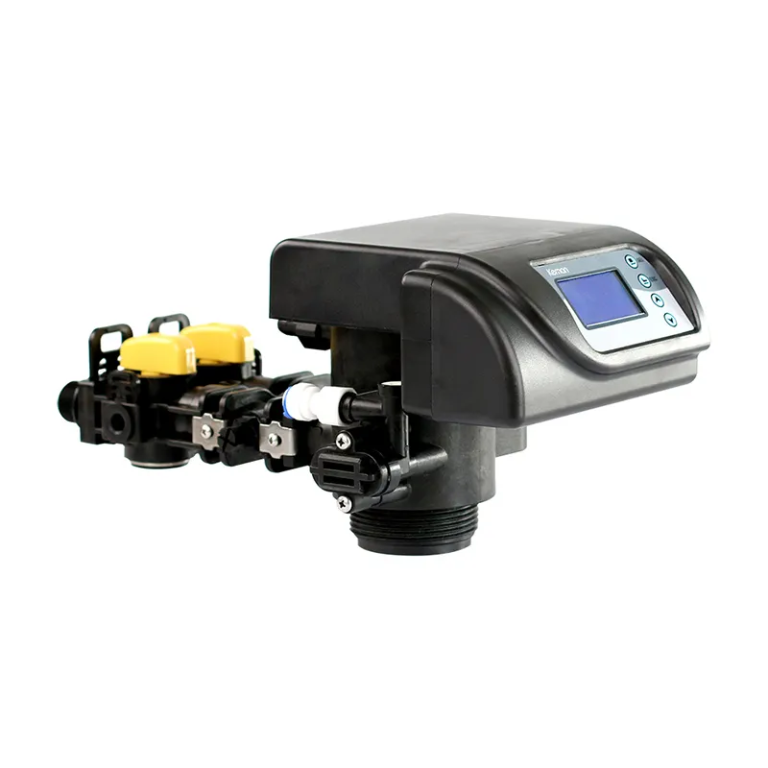
A water softener control valve is an essential component of a water softening system. It regulates the flow of water and controls the regeneration process, ensuring that your water is properly softened. Over time, however, the control valve may become worn out or malfunction, requiring replacement. In this article, we will guide you through the steps to replace a water softener control valve.
Before you begin the replacement process, it is important to gather all the necessary tools and materials. You will need a wrench, pliers, a screwdriver, Teflon tape, and a replacement control valve. It is also advisable to turn off the water supply to your water softener before starting the replacement.
The first step is to disconnect the control valve from the water softener tank. Start by turning off the bypass valve, which diverts water around the control valve. Then, use a wrench to loosen the nuts connecting the control valve to the tank. Once the nuts are loose, carefully lift the control valve off the tank and set it aside.
Next, you will need to remove the old control valve from the tank. This may require using pliers or a wrench to loosen any additional fittings or connections. Once the old control valve is completely detached, inspect the tank for any debris or buildup that may have accumulated over time. Clean the tank thoroughly before proceeding.
Now it is time to install the new control valve. Begin by applying Teflon tape to the threads of the fittings on the new control valve. This will help create a watertight seal when the valve is installed. Carefully lower the new control valve onto the tank, aligning the fittings with the corresponding openings. Use a wrench to tighten the nuts and secure the control valve in place.

Once the new control valve is securely attached, it is time to reconnect the water supply. Turn on the bypass valve to allow water to flow through the control valve. Check for any leaks around the fittings and tighten them if necessary. It is also a good idea to run a regeneration cycle to ensure that the control valve is functioning properly.
| Model: Automatic Filter Valve | AF2 & AF2-H | AF4 | AF10 |
| Regeneration mode | Automatic | ||
| Inlet | 1/2” 3/4” 1” | 1” | 2” |
| Outlet | 1/2” 3/4” 1” | 1” | 2” |
| Drain | 1/2” 3/4” 1” | 1” | 2” |
| Base | 2-1/2” | 2-1/2” | 4” |
| Riser pipe | 1.05” OD | 1.05” OD | 1.5” D-GB |
| Water Capacity | 2m3/h | 4m3/h | 10m3/h |
| Working Pressure | 0.15-0.6Mpa | ||
| Working Temperature | 5-50°C | ||
| Power Supply | 220/110V 50Hz / 18 W | ||
Finally, double-check all the connections and fittings to ensure they are tight and secure. Turn on the water supply to your water softener and monitor the system for any signs of leakage or malfunction. If everything appears to be in order, you have successfully replaced the water softener control valve.
In conclusion, replacing a water softener control valve is a relatively straightforward process that can be done with the right tools and materials. By following these steps, you can ensure that your water softening system continues to function effectively and provide you with the softened water you need. Remember to always exercise caution and consult a professional if you are unsure about any aspect of the replacement process.