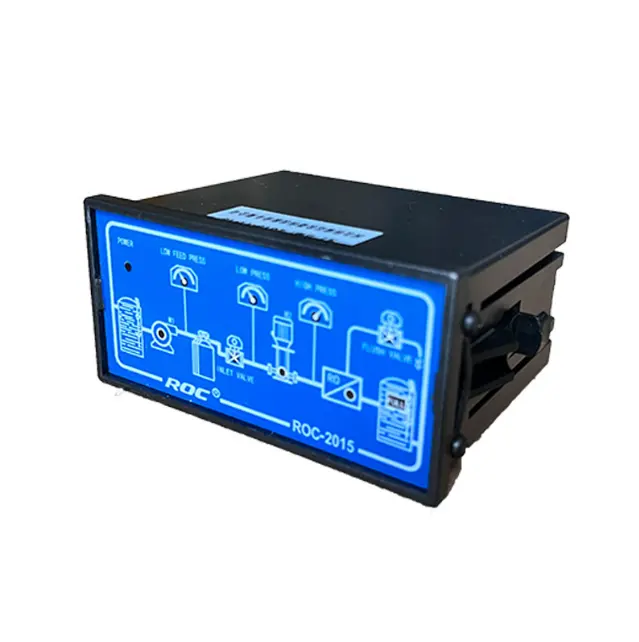
“Upgrade your water softener with ease – replace your valve today!”
Steps to Replace a water softener valve
Water softeners are essential appliances in many households, as they help to remove minerals such as calcium and magnesium from water, which can cause limescale buildup in pipes and appliances. Over time, the valve on a water softener may need to be replaced due to wear and tear or damage. In this article, we will discuss the steps involved in replacing a water softener valve.
The first step in replacing a water softener valve is to turn off the water supply to the softener. This can usually be done by turning a valve located near the softener. Once the water supply is turned off, you will need to disconnect the softener from the plumbing. This may involve cutting the pipes that connect the softener to the plumbing using a pipe cutter.
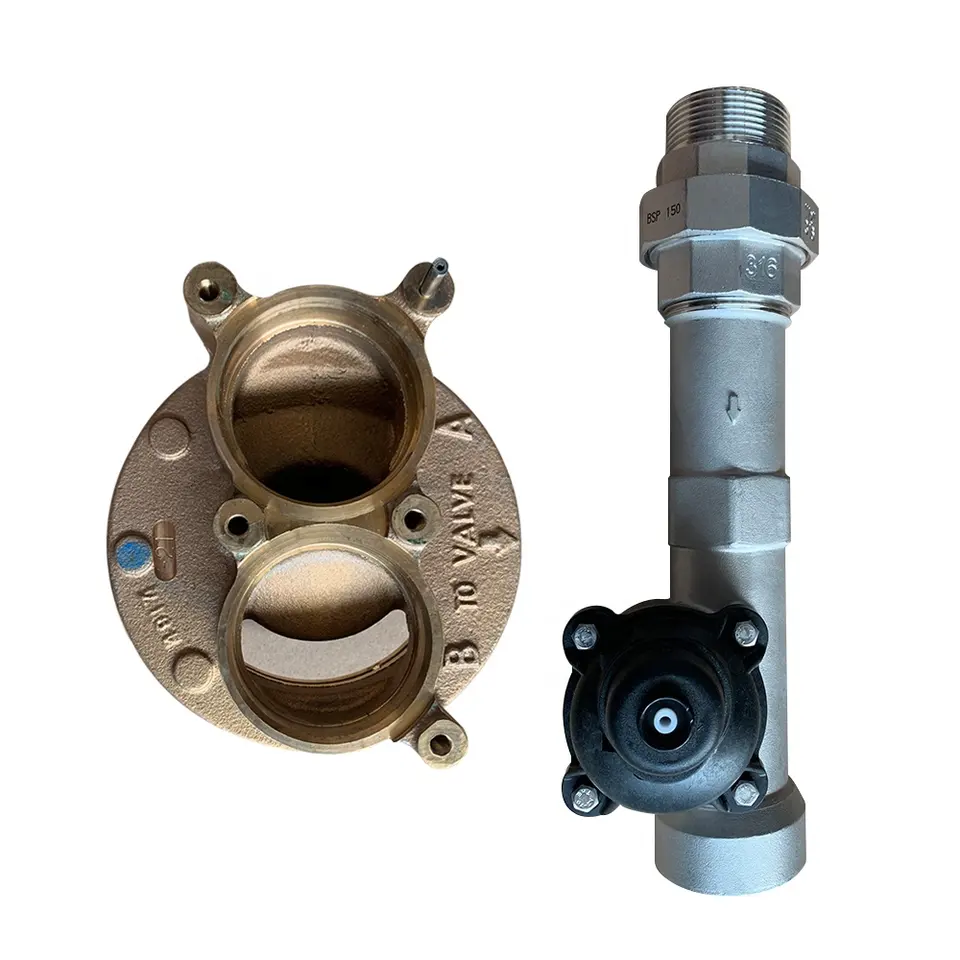
Next, you will need to remove the old valve from the softener. This can usually be done by unscrewing the bolts that hold the valve in place. Once the old valve is removed, you can install the new valve in its place. Make sure to follow the manufacturer’s instructions for installing the new valve, as each model may have slightly different installation requirements.
| Model | Valve Material | Inlet/Outlet | Continuous (0.1Mpa drop) | Peak (0.175Mpa drop) | Cv** | Maximum Backwash (0.175Mpa drop) | Distributor Pilot | Drain Line | Brine Line | Mounting Base | Height (from top of the tank) |
| CM31 | Unleaded brass | 2″ | 21.59m³/h | 28.18m³/h | 24.8 | 105gpm | 2″ | 2″ | 1″(male) | 4″-8UN (top) | 10″ |
After the new valve is installed, you will need to reconnect the softener to the plumbing. This may involve using new pipes and fittings to connect the softener to the plumbing. Make sure to use the correct size and type of pipes and fittings to ensure a proper seal.
Once the softener is reconnected to the plumbing, you can turn the water supply back on and check for any leaks. If there are no leaks, you can turn on the softener and test the new valve to make sure it is functioning properly. If you do encounter any leaks or issues with the new valve, you may need to troubleshoot the problem or contact a professional for assistance.
In conclusion, replacing a water softener valve is a relatively straightforward process that can be done by following a few simple steps. By turning off the water supply, disconnecting the softener from the plumbing, removing the old valve, installing the new valve, reconnecting the softener to the plumbing, and testing the new valve, you can ensure that your water softener continues to function properly. If you encounter any issues during the replacement process, don’t hesitate to seek help from a professional to ensure that the job is done correctly.

