“Maintain optimal pH levels with ease using a ph controller.”
Table of Contents
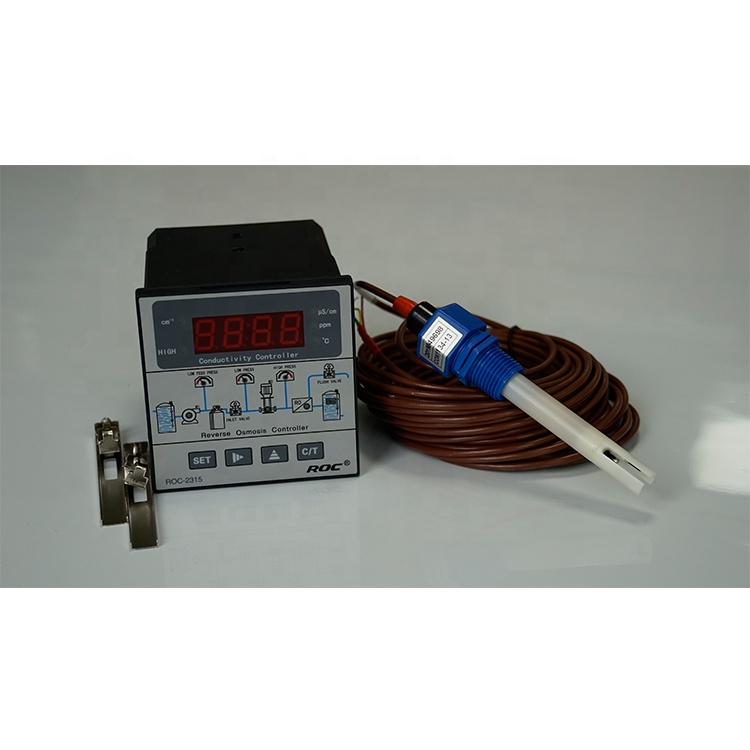
Proper Calibration of ph controller
Proper calibration of a ph controller is essential for ensuring accurate and reliable readings of the pH level in a solution. A ph controller is a device that automatically monitors and adjusts the pH level of a solution, making it an important tool in various industries such as water treatment, agriculture, and food processing. To ensure that a ph controller functions properly, it is crucial to calibrate it correctly.
The first step in calibrating a ph controller is to gather all the necessary equipment. This includes a ph meter, calibration solutions (pH 4 and pH 7), distilled water, a clean container, and a stirrer. It is important to use fresh calibration solutions and ensure that the ph meter is clean and in good working condition.
Once the equipment is ready, the next step is to prepare the calibration solutions. Start by rinsing the clean container with distilled water to remove any residue. Then, pour a small amount of the pH 7 calibration solution into the container. Make sure to use enough solution to fully submerge the ph meter‘s electrode.
After preparing the calibration solutions, it is time to calibrate the ph controller. Start by turning on the ph meter and placing the electrode into the pH 7 calibration solution. Allow the meter to stabilize and then adjust the reading to match the pH 7 value. This can usually be done by turning a knob or pressing a button on the ph controller.
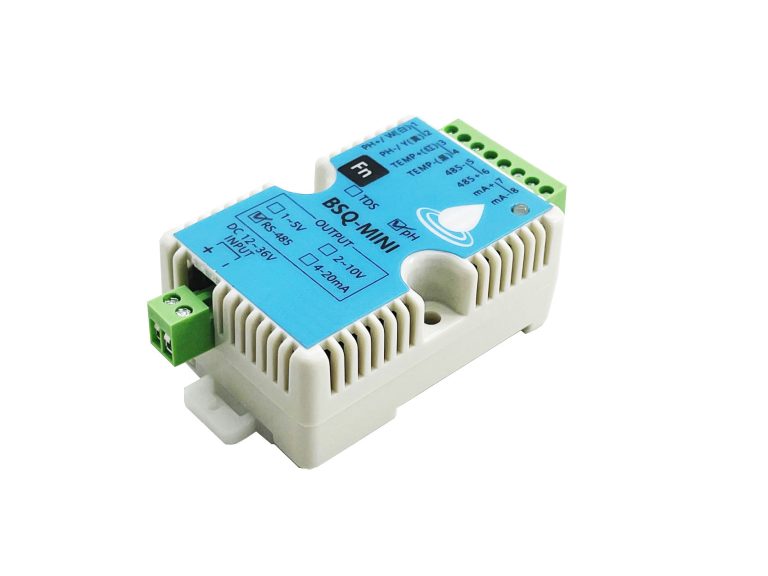
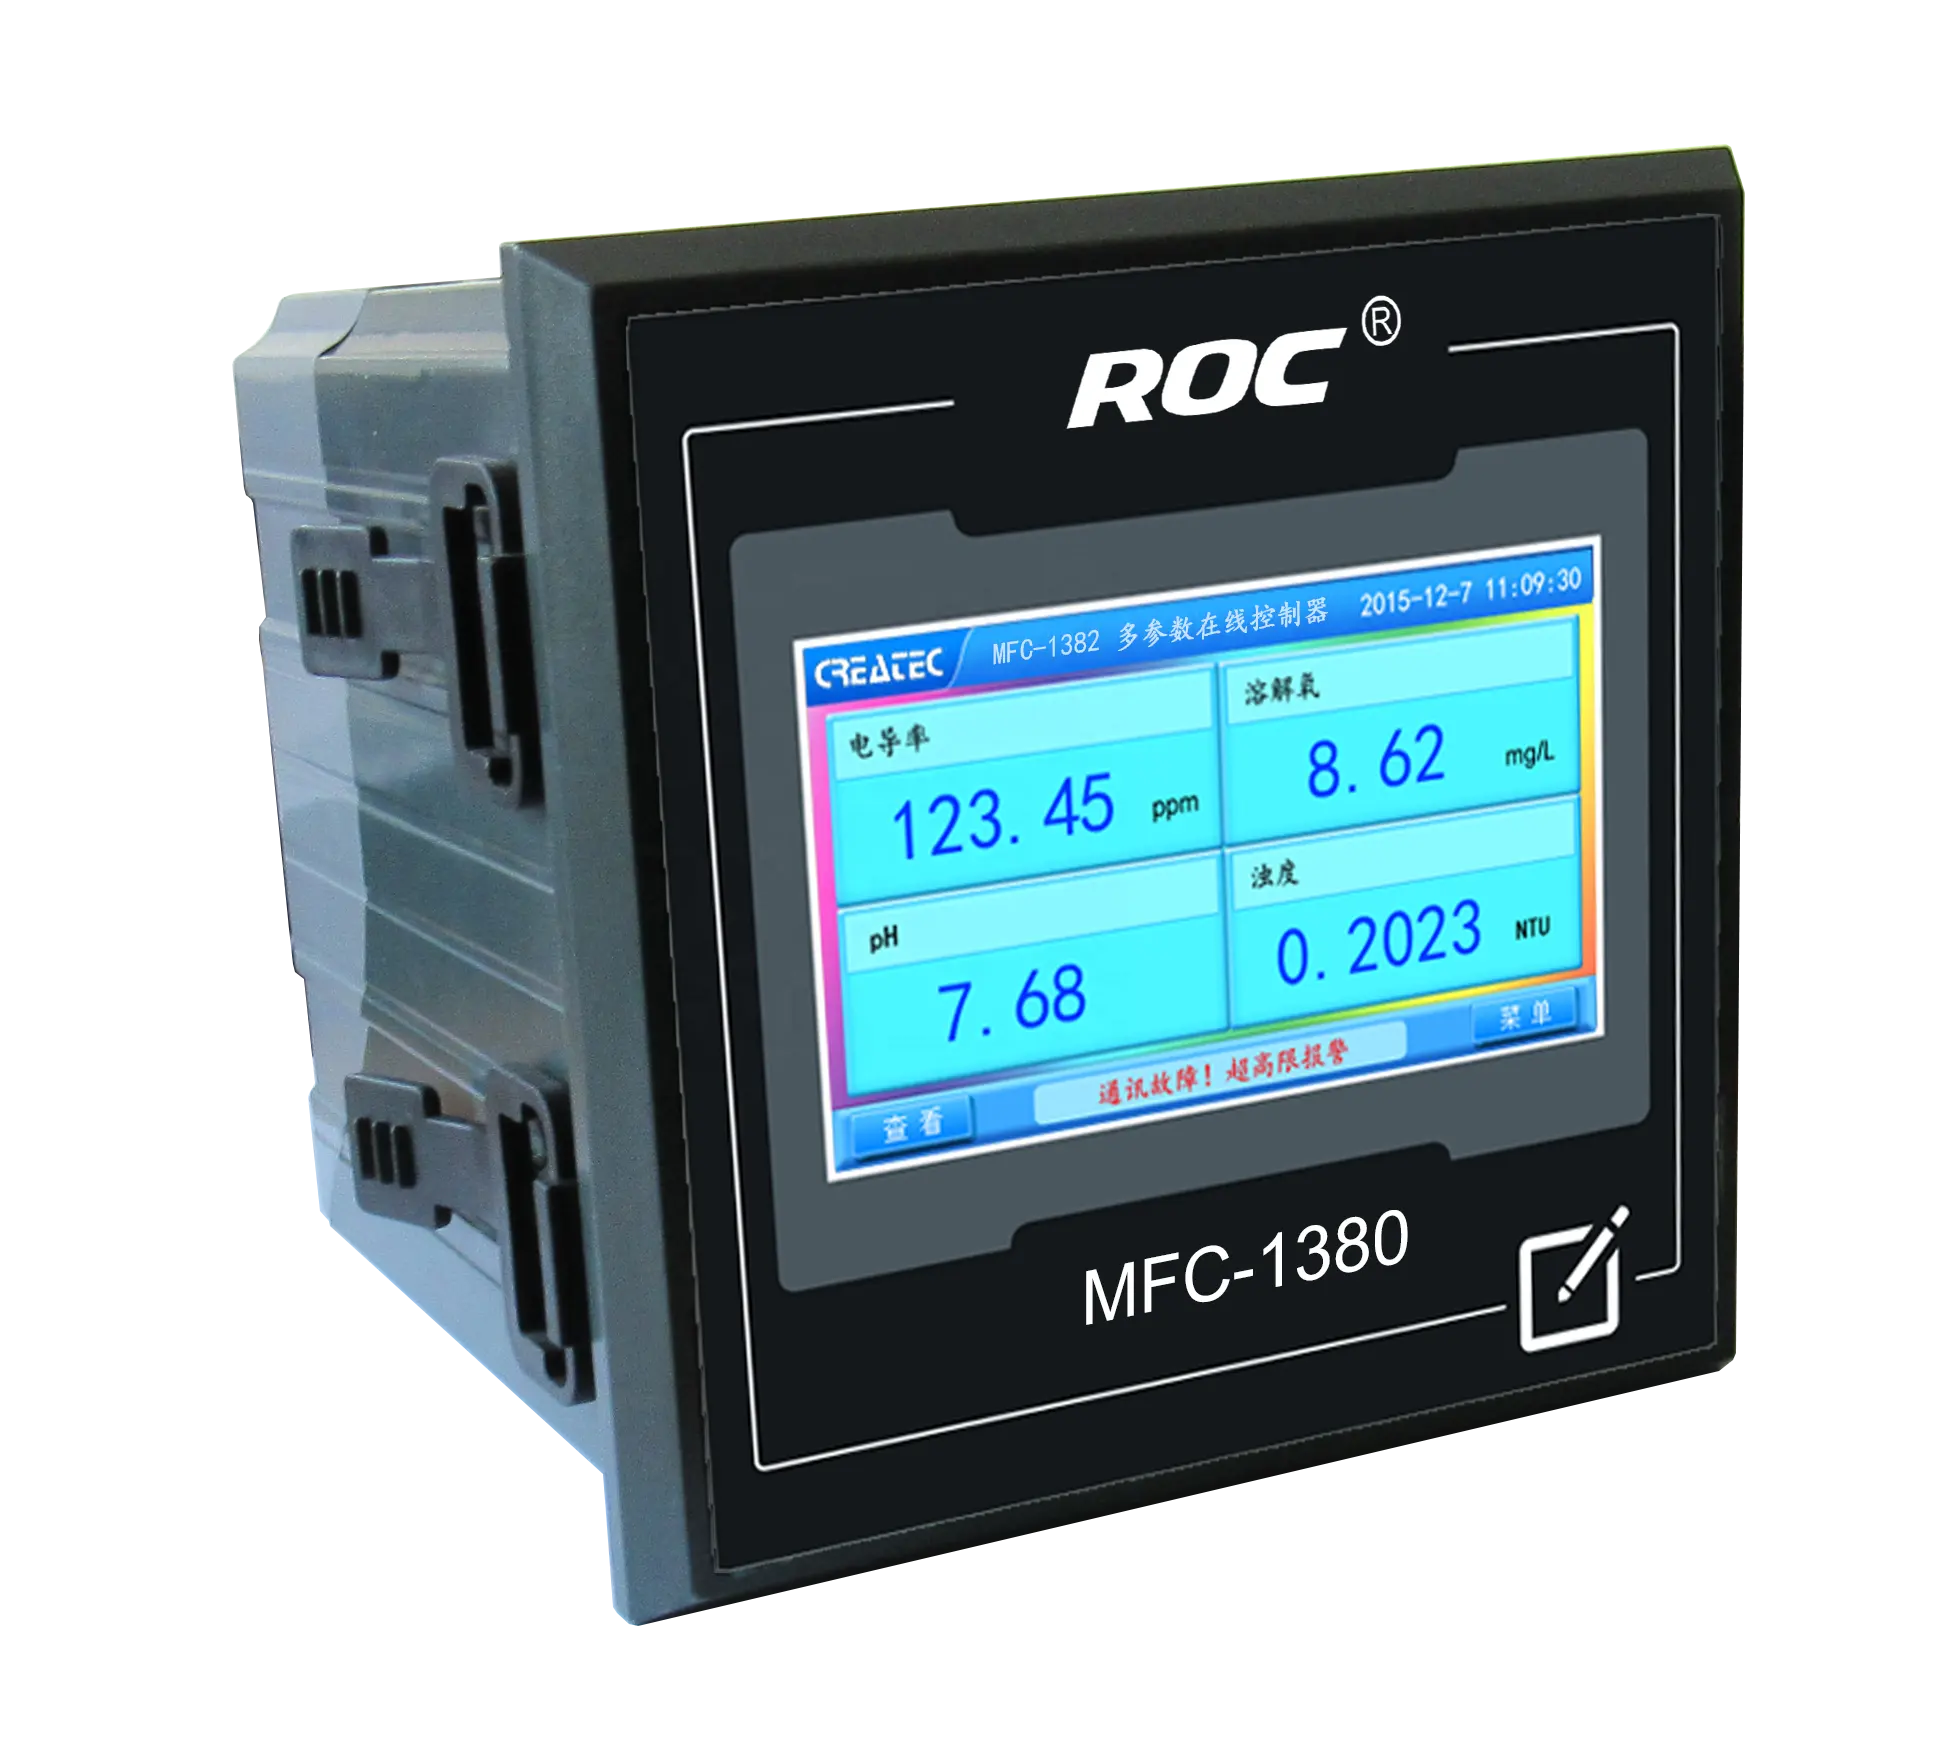
| Product Model | MFC-8800 | |
| Communication port | The uplink slave channel Modbus RTU protocol RS485 port is connected with DTU and DCS | |
| Downlink master channel RS485 port of Modbus RTU protocol is connected with data acquisition terminal | ||
| 4~20mA output | 1 channel two-wire type Maximum loop resistance 400Ω | |
| 4~20mA Input | 2 channel channel two-wire type( initiative feed) | |
| DI Input | 2channels Photoelectric isolation logic switch | |
| DO Output | 3 channels relay | 1 SPDT AC220V; 3A(MAX) |
| (only for drive signal) | 2 SPST AC220V; 3A(MAX) | |
| 1channel Photoelectric switch | Proportional pulse/frequency | |
| Load capacity:100mA/DC30V | ||
| Data acquisition | Data acquisition collection,with 3 channels DC24V sensor power supply | |
| Display mode | 3.5”(or 4”)colorful LCD touch screen | |
| Power supply | Wide power range :(12-24)V | |
| Consumption | <5W | |
| Environment requirements | Environment temp:(5~45)℃; relative humidity:≤90%。 | |
| Hole dimension | (91×91)mm hole dimension;panel dimension(100*100)mm | |
Once the ph meter is calibrated to the pH 7 solution, rinse the electrode with distilled water and repeat the process with the pH 4 calibration solution. Again, allow the meter to stabilize and adjust the reading to match the pH 4 value. This step is crucial for ensuring the accuracy of the ph controller across a wider range of pH levels.
After calibrating the ph controller to both pH 4 and pH 7 solutions, it is important to rinse the electrode with distilled water to remove any residue. This will help prevent contamination and ensure accurate readings in the future. It is also a good idea to store the ph meter in a clean, dry place when not in use.
In conclusion, proper calibration of a ph controller is essential for ensuring accurate and reliable readings of the pH level in a solution. By following the steps outlined above and using fresh calibration solutions, users can ensure that their ph controller functions properly and provides accurate readings. Remember to rinse the electrode with distilled water after each calibration and store the ph meter properly to prolong its lifespan. With proper calibration, a ph controller can be a valuable tool in maintaining the desired pH level in various applications.
Troubleshooting Common Issues with ph controller
A ph controller is a valuable tool for maintaining the pH level of your aquarium, hydroponic system, or swimming pool. However, like any electronic device, pH controllers can sometimes experience issues that may affect their performance. In this article, we will discuss some common problems that users may encounter with their ph controller and provide troubleshooting tips to help resolve these issues.
One common issue that users may face with their ph controller is inaccurate pH readings. If you notice that the pH readings on your controller do not match the actual pH level of your water, there are a few possible causes for this discrepancy. One potential reason for inaccurate readings is a dirty or malfunctioning pH probe. To address this issue, you can try cleaning the probe with a soft brush and pH probe cleaning solution. If cleaning the probe does not resolve the issue, you may need to replace the probe altogether.
Another common problem that users may encounter with their ph controller is calibration issues. If your ph controller is not properly calibrated, it may provide inaccurate readings. To calibrate your ph controller, you will need to use calibration solutions with known pH values. Follow the manufacturer’s instructions for calibrating your specific ph controller model. If you are still experiencing calibration issues after following the instructions, you may need to contact the manufacturer for further assistance.
Users may also experience issues with the ph controller‘s setpoint. The setpoint is the desired pH level that the controller is programmed to maintain. If your ph controller is not maintaining the setpoint, there may be a problem with the controller’s programming or settings. Check the controller’s manual to ensure that the setpoint is correctly programmed. If the setpoint is correct and the controller is still not maintaining the desired pH level, you may need to recalibrate the controller or adjust the controller’s settings.
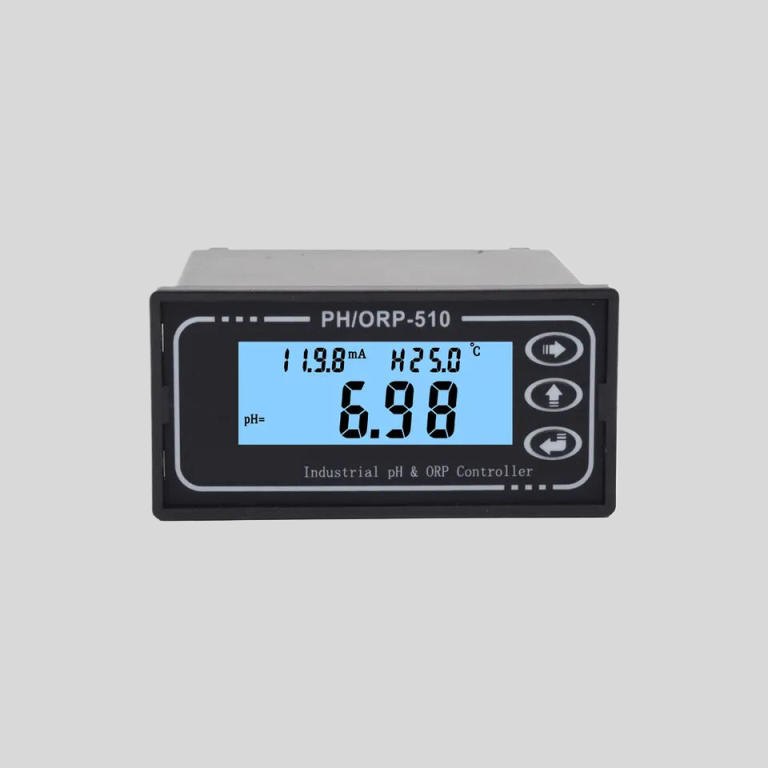
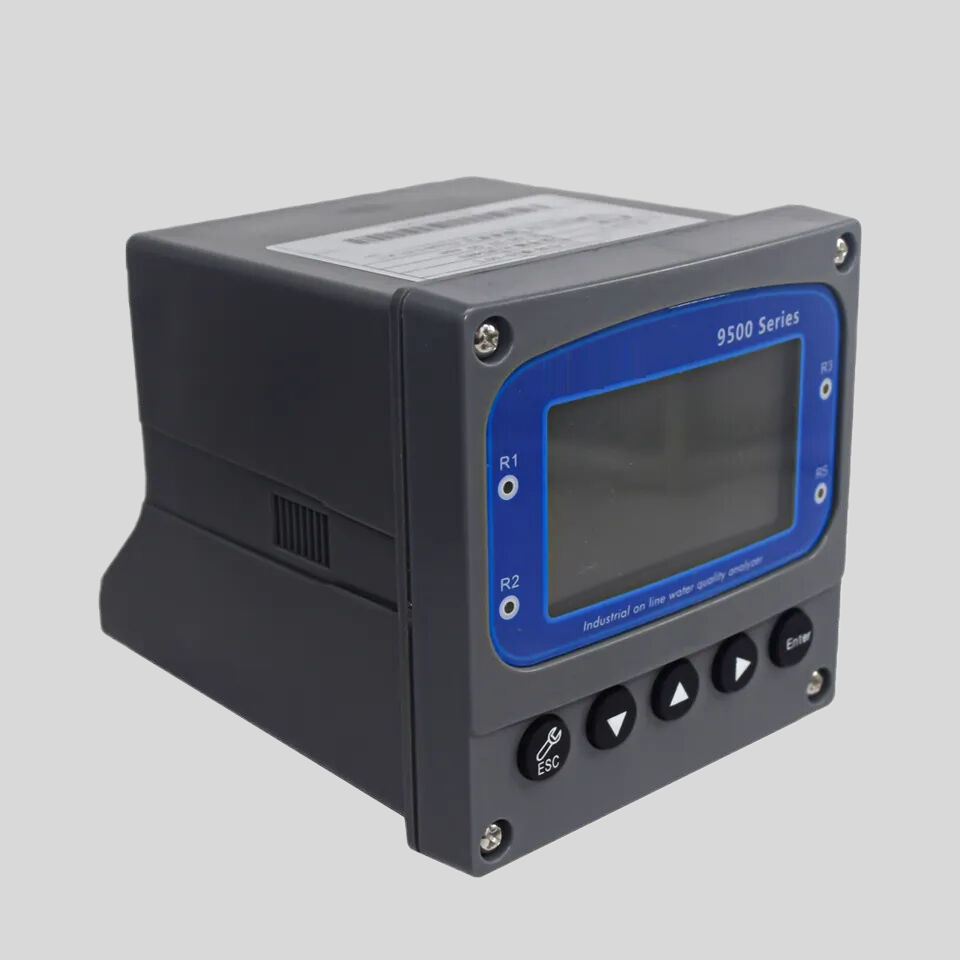
| Model | pH/ORP-1800 pH/orp meter |
| Range | 0-14 pH; -1600 – +1600mV |
| Accuracy | ±0.1pH; ±2mV |
| Temp. Comp. | Manual/Automatic temperature compensation; No Comp. |
| Oper. Temp. | Normal 0~50℃; High temp 0~100℃ |
| Sensor | pH double/triple sensor; ORP sensor |
| Display | 128*64 LCD Screen |
| Communication | 4-20mA output/RS485 |
| Output | High/Low limit dual relay control |
| Power | AC 220V±10% 50/60Hz or AC 110V±10% 50/60Hz or DC24V/0.5A |
| Working Environment | Ambient temperature:0~50℃ |
| Relative humidity≤85% | |
| Dimensions | 96×96×100mm(H×W×L) |
| Hole Size | 92×92mm(H×W) |
| Installation Mode | Embedded |
In some cases, users may encounter issues with the ph controller‘s power supply. If your ph controller is not turning on or is experiencing intermittent power issues, check the power supply and connections to ensure that they are secure. If the power supply is functioning properly and the controller is still not turning on, there may be a problem with the controller’s internal circuitry. In this case, you may need to contact the manufacturer for repair or replacement options.
Overall, troubleshooting common issues with a ph controller requires a systematic approach to identify and resolve the underlying problem. By following the manufacturer’s instructions, cleaning and calibrating the pH probe, checking the setpoint and power supply, users can effectively troubleshoot and resolve issues with their ph controller. If you are unable to resolve the issue on your own, do not hesitate to contact the manufacturer or a professional for assistance. By addressing and resolving issues promptly, you can ensure that your ph controller continues to effectively maintain the pH level of your water.