Table of Contents
Proper Calibration Techniques for Sension 5 conductivity meter Manual
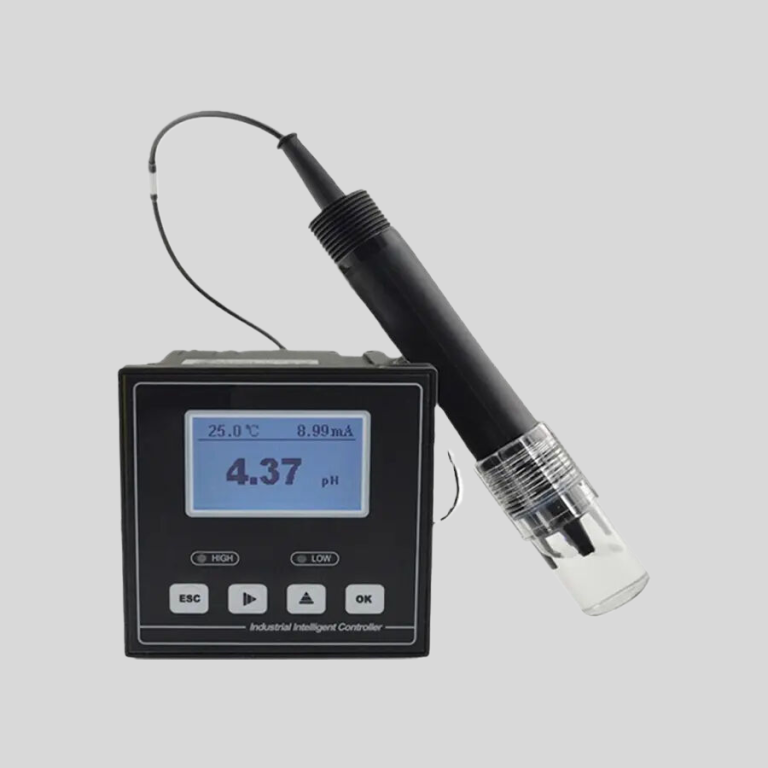
Proper calibration of a Sension 5 conductivity meter is essential to ensure accurate and reliable measurements. The Sension 5 conductivity meter manual provides detailed instructions on how to calibrate the device properly. In this article, we will discuss the importance of calibration, the steps involved in calibrating a Sension 5 conductivity meter, and some tips for maintaining the accuracy of the device.
Calibration is the process of adjusting a measuring instrument to ensure that it provides accurate and consistent results. In the case of a conductivity meter, calibration involves comparing the readings of the device to known standards and making any necessary adjustments to ensure that the readings are accurate. Proper calibration is crucial for obtaining reliable data and ensuring the validity of your measurements.
The Sension 5 conductivity meter manual provides step-by-step instructions on how to calibrate the device using calibration solutions of known conductivity. These solutions are typically provided by the manufacturer and are used to establish a reference point for the meter. By comparing the readings of the meter to the known values of the calibration solutions, you can determine if the device is measuring accurately.
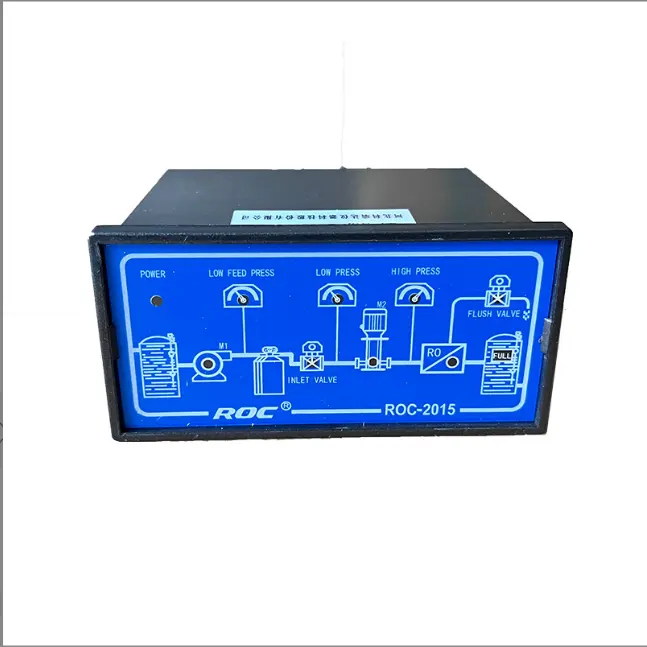
| ROS-8600 RO Program Control HMI Platform | ||
| Model | ROS-8600 Single Stage | ROS-8600 Double Stage |
| Measuring range | Source water0~2000uS/cm | Source water0~2000uS/cm |
| First level effluent 0~200uS/cm | First level effluent 0~200uS/cm | |
| secondary effluent 0~20uS/cm | secondary effluent 0~20uS/cm | |
| Pressure sensor(optional) | Membrane pre/post pressure | Primary/ secondary membrane front/rear pressure |
| ph sensor(optional) | —- | 0~14.00pH |
| Signal collection | 1.Raw water low pressure | 1.Raw water low pressure |
| 2.Primary booster pump inlet low pressure | 2.Primary booster pump inlet low pressure | |
| 3.Primary booster pump outlet high pressure | 3.Primary booster pump outlet high pressure | |
| 4.High liquid level of Level 1 tank | 4.High liquid level of Level 1 tank | |
| 5.Low liquid level of Level 1 tank | 5.Low liquid level of Level 1 tank | |
| 6.Preprocessing signal | 6.2nd booster pump outlet high pressure | |
| 7.Input standby ports x2 | 7.High liquid level of Level 2 tank | |
| 8.Low liquid level of Level 2 tank | ||
| 9.Preprocessing signal | ||
| 10.Input standby ports x2 | ||
| Output control | 1.Water inlet valve | 1.Water inlet valve |
| 2.Source water pump | 2.Source water pump | |
| 3.Primary booster pump | 3.Primary booster pump | |
| 4.Primary flush valve | 4.Primary flush valve | |
| 5.Primary dosing pump | 5.Primary dosing pump | |
| 6.Primary water over standard discharge valve | 6.Primary water over standard discharge valve | |
| 7.Alarm output node | 7.Secondary booster pump | |
| 8.Manual standby pump | 8.Secondary flush valve | |
| 9.Secondary dosing pump | 9.Secondary dosing pump | |
| Output standby port x2 | 10.Secondary water over standard discharge valve | |
| 11.Alarm output node | ||
| 12.Manual standby pump | ||
| Output standby port x2 | ||
| The main function | 1.Correction of electrode constant | 1.Correction of electrode constant |
| 2.Overrun alarm setting | 2.Overrun alarm setting | |
| 3.All working mode time can be set | 3.All working mode time can be set | |
| 4.High and low pressure flushing mode setting | 4.High and low pressure flushing mode setting | |
| 5.The low pressure pump is opened when preprocessing | 5.The low pressure pump is opened when preprocessing | |
| 6.Manual/automatic can be chosen when boot up | 6.Manual/automatic can be chosen when boot up | |
| 7.Manual debugging mode | 7.Manual debugging mode | |
| 8.Alarm if communication interruption | 8.Alarm if communication interruption | |
| 9. Urging payment settings | 9. Urging payment settings | |
| 10. Company name,website can be customized | 10. Company name,website can be customized | |
| Power supply | DC24V±10% | DC24V±10% |
| Expansion interface | 1.Reserved relay output | 1.Reserved relay output |
| 2.RS485 communication | 2.RS485 communication | |
| 3.Reserved IO port, analog module | 3.Reserved IO port, analog module | |
| 4.Mobile/computer/touch screen synchronous display | 4.Mobile/computer/touch screen synchronous display | |
| Relative humidity | ≦85% | ≤85% |
| Environment temperature | 0~50℃ | 0~50℃ |
| Touch screen size | 163x226x80mm (H x W x D) | 163x226x80mm (H x W x D) |
| Hole Size | 7 inch:215*152mm(wide*high) | 215*152mm(wide*high) |
| Controller size | 180*99(long*wide) | 180*99(long*wide) |
| Transmitter size | 92*125(long*wide) | 92*125(long*wide) |
| Installation method | Touch screen:panel embedded; Controller: plane fixed | Touch screen:panel embedded; Controller: plane fixed |
To calibrate a Sension 5 conductivity meter, you will need to follow the instructions provided in the manual carefully. This may involve adjusting the calibration settings on the device, as well as performing a series of measurements with the calibration solutions. It is important to follow the instructions precisely to ensure that the calibration is done correctly.
One important tip for calibrating a Sension 5 conductivity meter is to use fresh calibration solutions and to store them properly. Calibration solutions can degrade over time, which can affect the accuracy of the calibration. It is important to use fresh solutions and to store them according to the manufacturer’s instructions to ensure that they remain stable and reliable.
Another tip for maintaining the accuracy of your Sension 5 conductivity meter is to calibrate it regularly. Over time, the device may drift out of calibration, which can lead to inaccurate measurements. By calibrating the device regularly, you can ensure that it continues to provide accurate and reliable results.
In conclusion, proper calibration of a Sension 5 conductivity meter is essential for obtaining accurate and reliable measurements. The Sension 5 conductivity meter manual provides detailed instructions on how to calibrate the device properly using calibration solutions of known conductivity. By following these instructions carefully and calibrating the device regularly, you can ensure that your Sension 5 conductivity meter continues to provide accurate and reliable results.
Troubleshooting Common Issues with Sension 5 conductivity meter Manual
The Sension 5 conductivity meter is a valuable tool for measuring the conductivity of a solution in various industries, including water treatment, food and beverage production, and pharmaceutical manufacturing. However, like any piece of equipment, it may encounter issues that require troubleshooting. In this article, we will discuss some common problems that users may encounter with the Sension 5 conductivity meter and provide solutions to help resolve them.
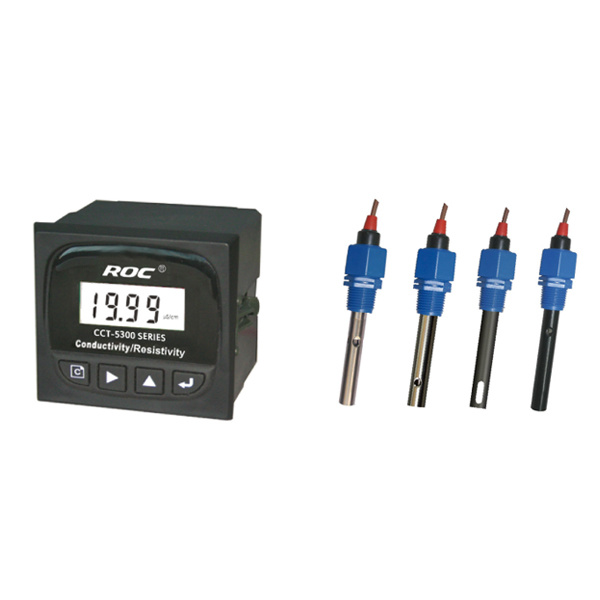
One common issue that users may face with the Sension 5 conductivity meter is inaccurate readings. This can be caused by a variety of factors, including improper calibration, dirty electrodes, or a malfunctioning sensor. To address this issue, users should first ensure that the meter is properly calibrated according to the manufacturer’s instructions. If the calibration is correct, users should check the electrodes for any dirt or debris that may be affecting the readings. Cleaning the electrodes with a soft cloth or a mild detergent solution can help improve accuracy.
Another common problem with the Sension 5 conductivity meter is difficulty turning the device on or off. This can be caused by a low battery, a faulty power button, or a malfunctioning power supply. To troubleshoot this issue, users should first check the battery level and replace it if necessary. If the battery is not the problem, users should inspect the power button for any damage or debris that may be preventing it from functioning properly. If the power button is in good condition, users should check the power supply to ensure that it is working correctly.
Users may also encounter issues with the display on the Sension 5 conductivity meter, such as a blank screen or unreadable numbers. This can be caused by a loose connection, a damaged display, or a malfunctioning circuit board. To address this issue, users should first check the connections between the display and the circuit board to ensure that they are secure. If the connections are intact, users should inspect the display for any damage or debris that may be affecting visibility. If the display is in good condition, users should contact the manufacturer for further assistance.
In some cases, users may experience problems with the calibration of the Sension 5 conductivity meter. This can be caused by a variety of factors, including improper calibration procedures, a malfunctioning sensor, or environmental factors that affect conductivity levels. To troubleshoot this issue, users should first review the calibration instructions provided by the manufacturer and ensure that they are following them correctly. If the calibration is still not accurate, users should check the sensor for any damage or debris that may be affecting its performance. If the sensor is in good condition, users should consider environmental factors, such as temperature or pH levels, that may be affecting the conductivity readings.
| Measuring Method | N,N-Diethyl-1,4-phenylenediamine (DPD) spectrophotometry | |||
| Model | CLA-7122 | CLA-7222 | CLA-7123 | CLA-7223 |
| Inlet water channel | Single channel | Dual channel | Single channel | Dual channel |
| Measurement range | Total Chlorine : (0.0 ~ 2.0)mg/L ,calculated as Cl2 ; | Total Chlorine : (0.5 ~10.0)mg/L ,calculated as Cl2 ; | ||
| pH:(0-14);temperature:(0-100)℃ | ||||
| Accuracy | Free chlorine: ±10% or 0.05mg/L (whichever is greater), calculated as Cl2; Total chlorine: ±10% or 0.05mg/L (whichever is greater), calculated as Cl2 | Free chlorine: ±10% or 0.25mg/L (whichever is greater), calculated as Cl2; Total chlorine: ±10% or 0.25mg/L (whichever is greater), calculated as Cl2 | ||
| pH:±0.1pH;Temp.:±0.5℃ | ||||
| Measurement cycle | Free Chlorine≤2.5min | |||
| Sampling interval | The interval (1~999) min can be set to any value | |||
| Maintenance cycle | Recommended once a month (see maintenance chapter) | |||
| Environmental | Ventilated and dry room without strong vibration; Suggested room temperature: (15 ~ 28)℃; relative humidity: ≤85% (no condensation). | |||
| requirements | ||||
| Sample water flow | (200-400) mL/min | |||
| inlet water pressure | (0.1-0.3) bar | |||
| Inlet water temperature range | (0-40)℃ | |||
| Power supply | AC (100-240)V; 50/60Hz | |||
| Consumption | 120W | |||
| Power connection | 3-core power cord with plug is connected to the mains socket with ground wire | |||
| Data output | RS232/RS485/(4~20)mA | |||
| Dimension size | H*W*D:(800*400*200)mm | |||
Overall, the Sension 5 conductivity meter is a reliable and accurate tool for measuring conductivity in various industries. By following the troubleshooting tips provided in this article, users can address common issues with the meter and ensure that it continues to provide accurate and reliable readings. If users are unable to resolve the issues on their own, they should contact the manufacturer for further assistance.