Table of Contents
Pros and Cons of Installing a Shower Valve Upside Down
When it comes to installing a shower valve, there are a few different options to consider. One of the less common methods is installing the valve upside down. While this may seem unconventional, there are both pros and cons to this approach that should be taken into account before making a decision.
One of the main advantages of installing a shower valve upside down is that it can make maintenance and repairs easier in the long run. By having the valve positioned in this way, it can be accessed more easily without having to remove any tiles or other fixtures. This can save time and money when it comes to fixing any issues that may arise with the valve over time.
Additionally, installing a shower valve upside down can also provide a more streamlined and modern look to the overall design of the shower. With the valve positioned in this way, it can create a sleek and minimalist appearance that can enhance the aesthetic of the bathroom. This can be particularly beneficial for those who are looking to create a more contemporary and stylish space.

On the other hand, there are some drawbacks to installing a shower valve upside down that should be considered. One of the main concerns is that it may not be as easy to operate the valve when it is positioned in this way. Depending on the design of the valve and the placement of the handle, it may be more difficult to adjust the temperature and water flow when the valve is installed upside down.
Another potential issue with installing a shower valve upside down is that it may not be as durable as when it is installed in the traditional manner. The valve may be more prone to leaks and other problems when it is positioned in this way, which can lead to costly repairs down the line. It is important to weigh the potential risks of installing the valve upside down against the benefits before making a decision.
In conclusion, there are both pros and cons to installing a shower valve upside down. While it can make maintenance and repairs easier and provide a more modern look to the shower, it may also make it more difficult to operate the valve and could potentially lead to durability issues. It is important to carefully consider these factors and consult with a professional before deciding whether or not to install a shower valve upside down. Ultimately, the decision should be based on what will work best for your specific needs and preferences.
How to Fix a Shower Valve Installed Upside Down
If you’ve recently discovered that your shower valve has been installed upside down, you may be wondering how to fix this common plumbing issue. While it may seem like a daunting task, with the right tools and knowledge, you can easily correct this mistake and ensure that your shower functions properly.

The first step in fixing a shower valve that has been installed upside down is to turn off the water supply to the shower. This is crucial to prevent any leaks or water damage while you work on the valve. Once the water supply is turned off, you can begin the process of removing the valve handle and trim plate.
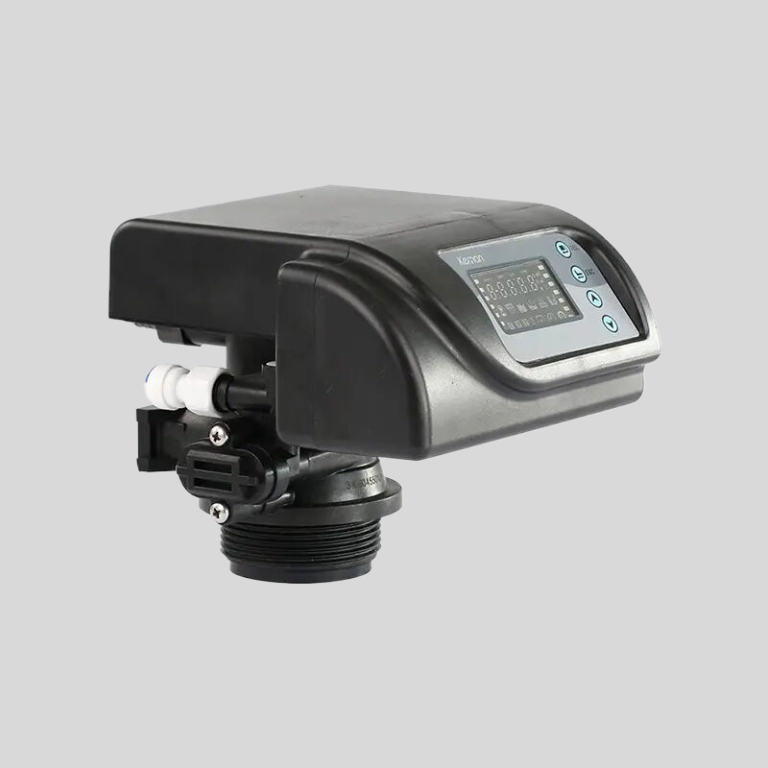
| fixed bed GR-1 | ||||
| Model | GR2-1/ GR2-1 LCD | GR4-1/ GR4-1 LCD | GR10-1 Top Loading | GR10-1 Side Loading |
| Output Max | 4T/H | 7T/H | 15T/H | 15T/H |
To remove the handle, you will need a screwdriver to loosen the set screw that holds it in place. Once the set screw is removed, you can gently pull the handle off the valve stem. Next, you will need to remove the trim plate by unscrewing the screws that hold it in place. Once the trim plate is removed, you will have access to the valve body.
With the valve body exposed, you can now determine if the valve has been installed upside down. One way to tell if the valve is upside down is to look at the hot and cold water inlets. In a correctly installed valve, the hot water inlet should be on the left side and the cold water inlet should be on the right side. If these are reversed, then the valve has been installed upside down.
To correct this mistake, you will need to remove the valve body from the wall. This may require cutting into the wall to access the plumbing behind the valve. Once the valve body is removed, you can simply rotate it 180 degrees so that the hot and cold water inlets are in the correct positions.
After rotating the valve body, you can reattach it to the wall and reconnect the hot and cold water supply lines. Make sure to tighten the connections securely to prevent any leaks. Once the valve body is reinstalled, you can replace the trim plate and handle.
Finally, you can turn the water supply back on and test the shower to ensure that the valve is now functioning correctly. If you notice any leaks or issues with the water temperature, you may need to adjust the valve settings or tighten the connections further.
In conclusion, fixing a shower valve that has been installed upside down is a relatively simple process that can be done with the right tools and knowledge. By following these steps, you can correct this common plumbing mistake and ensure that your shower functions properly. Remember to always turn off the water supply before working on any plumbing fixtures and to double-check your work to prevent any future issues.
| 2510 | 1.05″ (1″)O.D. | 1/2″O.D. | 1600-3/8″ | 2-1/2″-8NPSM | 24v,110v,220v-50Hz,60Hz | 72W |
| 1650-3/8″ |