Table of Contents
How to Build a ph meter Using Arduino
A ph meter is a device used to measure the acidity or alkalinity of a liquid. It is commonly used in laboratories, agriculture, and water treatment facilities to ensure the proper pH levels are maintained. pH meters can be expensive, but with the rise of DIY electronics, it is now possible to build your own ph meter using an Arduino.
Arduino is an open-source electronics platform that allows users to create interactive projects. It is widely used in the maker community for its versatility and ease of use. By combining an Arduino board with a ph sensor, you can create a cost-effective ph meter that can be used for various applications.
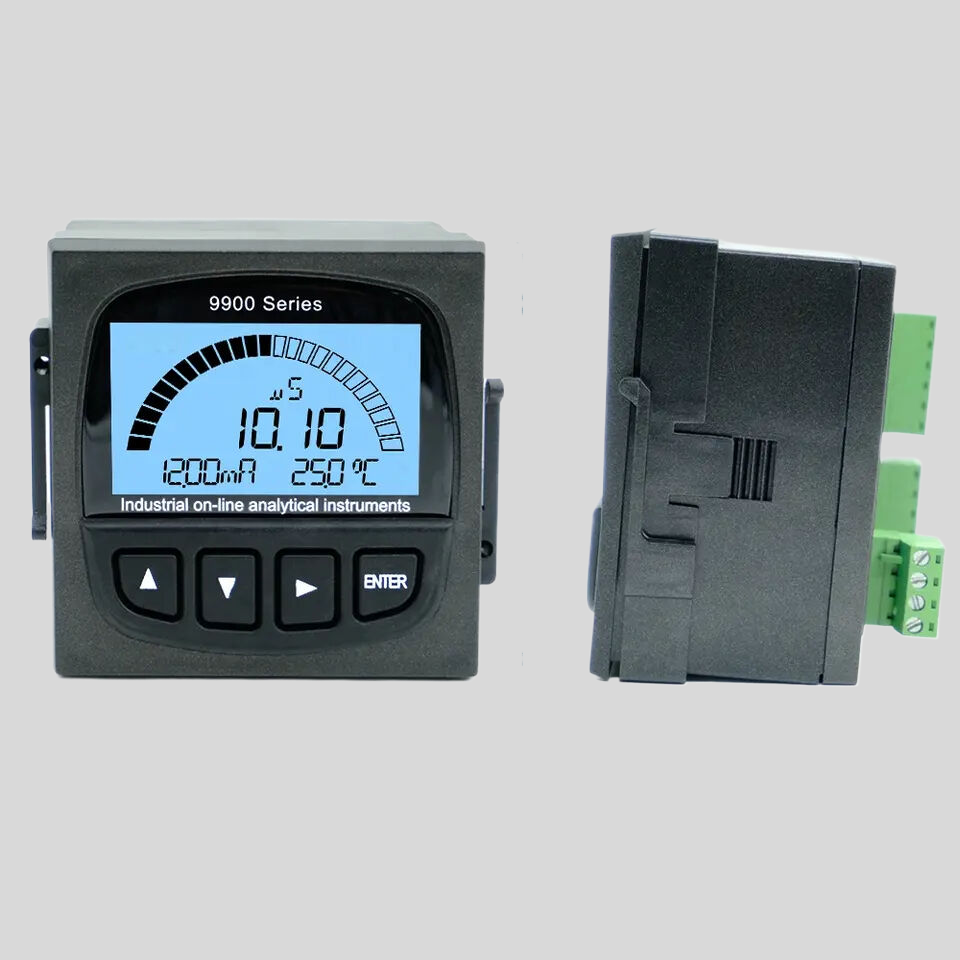
| Model | CCT-3300 Series Conductivity Online Controller |
| Constant | 0.01cm-1, 0.1 cm-1, 1.0cm-1, 10.0 cm-1 |
| Conductivity | (0.5~20)mS/cm,(0.5~2,000)uS/cm, (0.5~200)uS/cm, (0.05~18.25)MQ·cm |
| TDS | (250~10,000)ppm, (0.5~1,000)ppm, (0.25~100)ppm |
| Medium Temp. | (0~50)℃ |
| Resolution | Conductivity: 0.01uS/cm, TDS:0.01ppm, Temp.: 0.1℃ |
| Accuracy | Conductivity: 1.5%(FS), Resistivity:2.0%(FS), TDS: 1.5%(FS), Temp.: +/-0.5℃ |
| Temp. compensation | (0-50)°C (with 25℃ as Standard) |
| Cable length | ≤5m(MAX) |
| mA output | Isolated (4~20)mA, Instrument / Transmitter for selection |
| Control Output | relay contact: ON/OFF, Load capacity: AC 230V/5A(Max) |
| Working Environment | Temp.(0~50)℃;Relative Humidity ≤85%RH (none condensation) |
| Storage Environment | Temp.(-20~60)℃;Relative Humidity ≤85%RH (none condensation) |
| Power Supply | CCT-3300:DC 24V; CCT-3310: AC 110V; CCT-3320: AC 220V |
| Dimension | 48mmx96mmx80mm(HxWxD) |
| Hole Size | 44mmx92mm(HxW) |
| Installation | Panel mounted, fast installation |
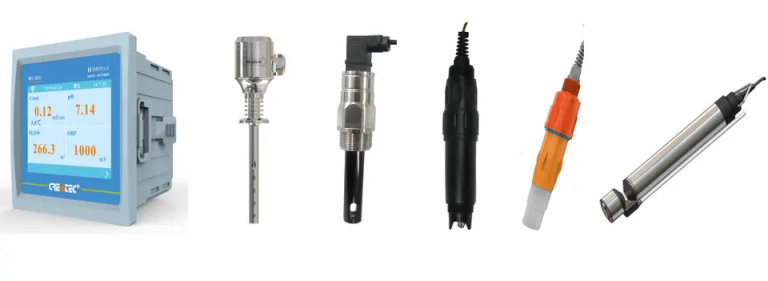
To build a ph meter using Arduino, you will need a few key components. The most important component is the ph sensor, which is responsible for measuring the pH level of the liquid. There are many pH sensors available on the market, but it is important to choose one that is compatible with Arduino. Additionally, you will need an Arduino board, a breadboard, jumper wires, and a display to show the pH readings.
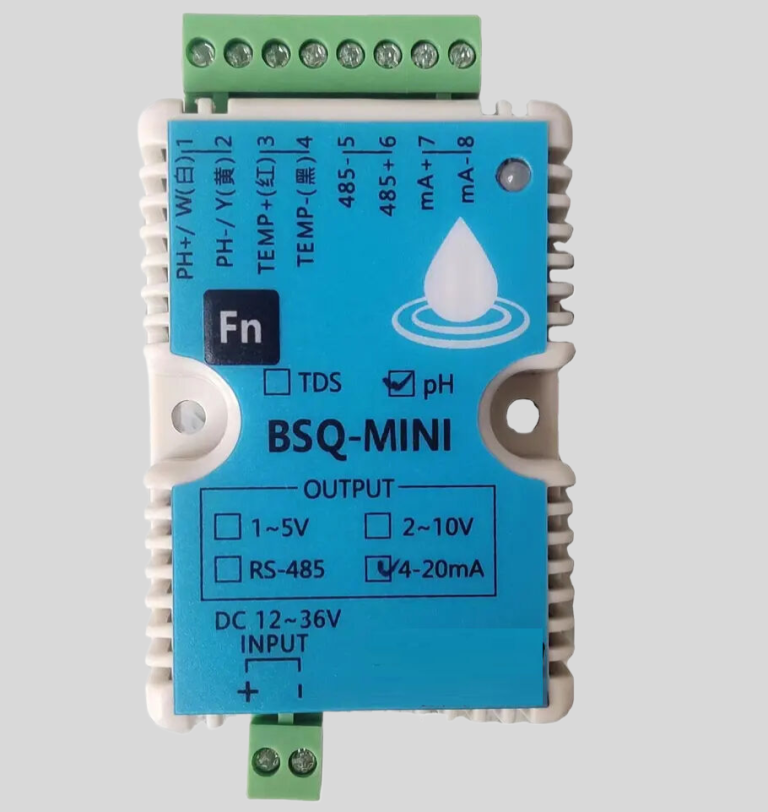
Once you have gathered all the necessary components, you can start building your ph meter. Begin by connecting the ph sensor to the Arduino board using jumper wires. Make sure to follow the wiring diagram provided by the sensor manufacturer to ensure proper connections. Next, connect the Arduino board to the display using jumper wires. This will allow you to see the pH readings in real-time.
Once you have successfully programmed the Arduino board, you can start using your DIY ph meter. Simply dip the ph sensor into the liquid you want to test and wait for the reading to appear on the display. The ph meter will provide you with accurate pH measurements that can help you monitor the acidity or alkalinity of the liquid.
Building a ph meter using Arduino is a fun and educational project that can be completed by anyone with basic electronics knowledge. It is a cost-effective alternative to commercial pH meters and can be customized to suit your specific needs. Whether you are a hobbyist or a professional, a DIY ph meter can be a valuable tool in your arsenal.
In conclusion, building a ph meter using Arduino is a rewarding project that can be both educational and practical. By combining an Arduino board with a ph sensor, you can create a cost-effective ph meter that can be used for various applications. With the right components and a little bit of programming, you can have your own ph meter up and running in no time. So why not give it a try and see what you can create with Arduino?
Monitoring Soil pH Levels with Arduino ph meter
Soil pH levels play a crucial role in the health and growth of plants. Monitoring these levels is essential for ensuring optimal conditions for plant growth. One way to do this is by using a ph meter with Arduino, a popular open-source electronics platform that allows for the creation of interactive projects.
Arduino pH meters are relatively easy to build and can provide accurate and real-time pH readings of the soil. By combining the ph sensor with an Arduino board, users can create a cost-effective and efficient solution for monitoring soil pH levels.
To build a ph meter with Arduino, you will need a ph sensor, an Arduino board, a breadboard, and some jumper wires. The ph sensor is the key component of the setup, as it is responsible for measuring the pH levels of the soil. The sensor typically comes with a probe that is inserted into the soil to take measurements.
Once you have all the necessary components, you can begin assembling the ph meter. Start by connecting the ph sensor to the Arduino board using the jumper wires. Make sure to follow the wiring diagram provided by the sensor manufacturer to ensure proper connections.
Next, upload the Arduino code to the board. The code will instruct the Arduino to read the ph sensor data and display the pH levels on a connected display, such as an LCD screen or a computer monitor. You can also set up the Arduino to send the pH data to a cloud platform for remote monitoring.
Once the ph meter is set up and running, you can start taking pH measurements of the soil. Simply insert the ph sensor probe into the soil and wait for the Arduino to display the pH levels. You can take multiple measurements at different locations in the soil to get a comprehensive understanding of the pH levels throughout your garden or farm.
Using a ph meter with Arduino offers several advantages over traditional pH meters. Arduino pH meters are cost-effective, customizable, and easy to use. They can be easily integrated into existing monitoring systems and provide real-time data for informed decision-making.
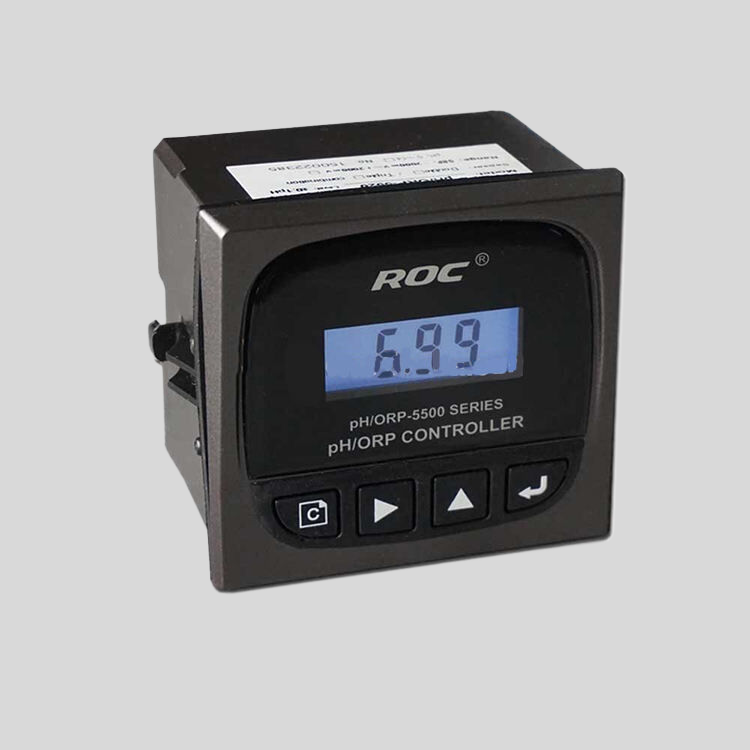
| pH/ORP-3500 series pH/ORP Online Meter | |||
| pH | ORP | Temp. | |
| Measurement range | 0.00~14.00 | (-2000~+2000)mV | (0.0~99.9)℃(Temp. Compensation :NTC10K) |
| Resolution | 0.01 | 1mV | 0.1℃ |
| Accuracy | ±0.1 | ±5mV(electronic unit) | ±0.5℃ |
| Buffer Solution | 9.18;6.86;4.01;10.00;7.00;4.00 | ||
| Medium Temp. | (0~50)℃(with 25℃ as standard )manual / automatic temp.compensation for selection | ||
| Analog Output | Isolated one Channel(4~20)mA,Instrument / Transmitter for selection | ||
| Control Output | Double relay output(ON/OFF) | ||
| Consumption | <3W | ||
| Working Environment | Working temp. (0~50)℃;Relative humidity≤85%RH(none condensation) | ||
| Storage Environment | Temp. (-20~60)℃; Relative humidity≤85%RH(none condensation) | ||
| Dimension | 48mm×96mm×80mm (H×W×D) | ||
| Hole Size | 44mm×92mm (H×W) | ||
| Installation | Panel mounted ,fast installation | ||
In addition, Arduino pH meters can be used for a variety of applications beyond monitoring soil pH levels. They can be used in hydroponic systems, aquariums, and water treatment plants to monitor pH levels and ensure optimal conditions for plants and aquatic life.
Overall, building a ph meter with Arduino is a practical and efficient way to monitor soil pH levels. By combining the power of Arduino with a ph sensor, users can create a versatile and reliable solution for monitoring pH levels in various environments. Whether you are a hobbyist gardener or a professional farmer, an Arduino ph meter can help you maintain healthy soil and promote optimal plant growth.